
(Not local to your BFFs? Use this same tutorial for your actual wedding day's card box with a few wording tweaks! It's a versatile project that anyone can do and love.)

How to Make a Simple and Chic Card Box for Galentine's Day
Difficulty Level: EasyColor Inspiration: White, gold, and pale pink
PROJECT MATERIALS
• Computer/Laptop/Mobile Phone
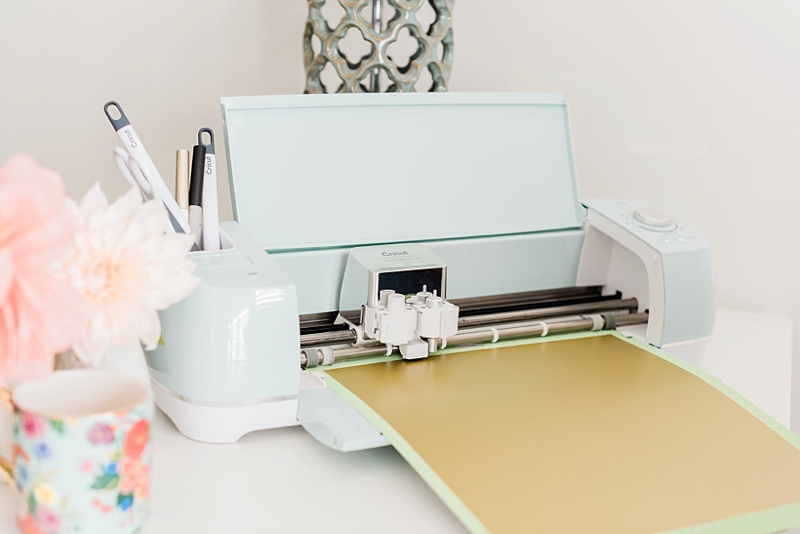
• Cricut Explore Air 2 Machine
• Our Gal Notes Design Space project (already created for you!)
• Cricut 12"x12" StandardGrip Cutting Mat
• Cricut Premium Vinyl (Gold)
• Portable trimmer
• Cricut Transfer Tape
• Cricut Basic Tool Set
• Glass terrarium box


INSTRUCTIONS
1. Set out all of your materials and prep your computer, laptop, or mobile phone to connect with your Cricut Explore Air 2 machine. Be sure to clean your glass surfaces with glass cleaner before crafting.
2. Measure the width of your text that you would like for the center of your card box. Ours is 7" wide (as you'll find in the next step).

3. Go to Cricut Design Space and open our already made-for-you "Gal Notes" project. For reference, we used the free Cricut fonts: Pen and Ink (cursive writing) and Cricut Sans (regular) to write “Gal Notes.”
4. Using your StandardGrip Cutting Mat, place one sheet of your gold premium vinyl to be ready to cut. It should be vinyl side up. Then on your Explore Air 2 machine, turn the material dial to "Premium Vinyl."

5. In Cricut Design Space, click the green "Make It" button and watch your cut come to life!
6. Once your words are cut, carefully weed with your Cricut weeding tool and peel the "extra" bits so only your words remain on the glossy backing paper.

7. Using your portable trimmer, cut out some of your transfer tape sized to your "Gal Notes" words. Remove the paper backing and place transfer tape on top of your vinyl letters. Burnish/rub the two layers together with your Cricut scraper tool. Peel your transfer tape; your words should now be on the clear transfer tape for easy application on your card box.

8. Center your transferred words onto the glass box and burnish onto the surface. Slowly peel away the transfer tape. Your “Gals Notes” should now be on the box ready for your party!


9. Use window cleaner to remove any fingerprints before your event, but be sure to avoid spraying your vinyl. Since this is removable vinyl, you can take off the letters afterwards and style your card box at home as a terrarium or for another project! Upcycling and multi-purpose at its best! And don't forget to bring blank note cards with you to share with your ladies!


See Some of Our Other Popular Cricut Wedding Features
• 15 Ideas for Using a Cricut Machine to Personalize Your Wedding
• DIY Bachelorette Party Fanny Packs (Iron-on)
• DIY Wedding Jacket (Iron-on)
• DIY Selenite Crystal Place Cards (Pens and Cardstock)
• DIY Textured Copper Table Number Vases (Vinyl)

TUTORIAL CREDITS
Tutorial: Chelsea LaVere for Tidewater and Tulle | Photography & Styling: Gari-Ann Kia Photography for Tidewater and Tulle | Project Materials & Cutting Machine: Cricut | Paper Florals: The Paper Petals Co. | Shoot Assistance: Night and Daye Events
Many thanks to Cricut for partnering with Tidewater and Tulle for this DIY tutorial feature! And while the disclaimer is that we were compensated to write and design this, the words and our loyal love for the Cricut brand are all our own. Some of the above product links are affiliate-linked and purchasing through these links helps support our wonderful sponsors and Tidewater and Tulle! You can find our full affiliate disclosure policy here on Tidewater and Tulle.
