How to Make Lavender Soap Wedding Favors
Difficulty Level: Easy
Color Inspiration: Sage green, lavender purple, and white
PROJECT MATERIALS
• 1 pound "melt and pour" white shea butter soap base
• 2 tablespoons dried lavender buds
• 2 teaspoons (or 15-20 drops) of cosmetic grade lavender essential oil
• Silicone mold for loaf soap and metal scraper kit
• Large cooking pot
• Heat-safe glass bowl
• 91% (or higher) isopropyl alcohol
• Spray bottle
• Food grade cheesecloth (your choice of dyed or natural)
• Dried eucalyptus for decoration
NOTES ABOUT OUR LAVENDER USED
Lavender can be sourced from anywhere it seems, but we try to support local when we can, so we were so excited to find out that Sweethaven Lavender recently opened in Williamsburg where you can pick your own lavender and purchase lavender-inspired goodies. Lavender fields in Virginia tend to bloom in May and June, so mark your calendars for this! It comes and goes quite quickly depending on the hot weather we get!

INSTRUCTIONS
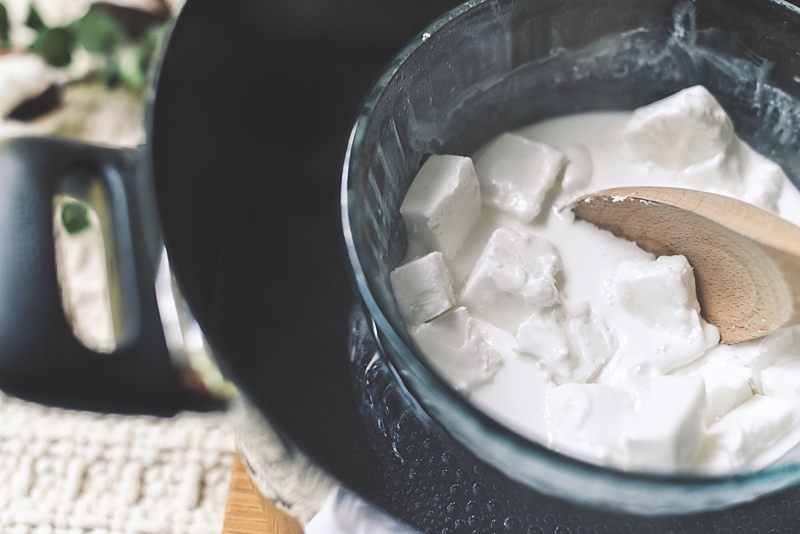
1. Set out all of your materials for each step. Once you start melting your soap, it'll be a quick process with heat and setting. Decide whether or not you want to melt your soap with the microwave or by double boiler-like on the stove setup. (We used double boiling (also known as bain-marie or heated bath) for more control/gentle melting. This involves a large glass bowl in a cooking pot filled with water.) Each method would need a high-heat friendly bowl like Pyrex.

2. With your scraper or knife, cut your 1 pound block of soap base into 1"-2" cubes for easy melting.

3. Melt the soap chunks on the stove or in the microwave. For the microwave, melt in 20 second intervals, stirring between each interval to break up large chunks and distribute the heat.


4. Once your soap is completely melted into liquid, stir in the lavender essential oil and dried lavender buds. Leave a scoop of lavender buds to the side if you want to sprinkle them on top of your soap loaf.


5. Gently pour into your soap mold leveling as needed. Sprinkle some dried lavender buds on top and then spray with isopropyl alcohol to prevent bubbles forming on the top. Allow to cool and fully harden; this may take at least 4 hours or overnight depending on your mold and house temperature.


6. Once hardened, remove your soap from your mold. Using your scraper or knife again, cut the soap into your desired thickness for your favors (small is good!). For storing, cover in plastic wrap to help preserve and protect it until you are ready to wrap them up as wedding favors in your choice of fabric or bag.
7. Not only eco-friendly and reusable, fabric gift wrapping is a beautiful way to give your wedding favors. The Japanese concept of furoshiki is a timeless ancient art form that anyone can do! There are countless YouTube videos and articles out there, but essentially you are tying your gift in lovely fabric (or cheesecloth in our case). After wrapping, decorate with a sprig of greenery for a pretty finishing touch.


TUTORIAL CREDITS
Tutorial Photography & Styling: Chelsea LaVere
Some of the above product links are affiliate-linked and purchasing through these links helps support Tidewater and Tulle! You can find our full affiliate disclosure policy here on Tidewater and Tulle.

