
Calling all vintage-loving brides! There is something undeniably romantic about a Juliet cap veil. Softly framing the head and face with delicate tulle or lac…
Calling all vintage-loving brides! There is something undeniably romantic about a Juliet cap veil. Softly framing the head and face with delicate tulle or lace, this vintage-inspired bridal accessory feels equal parts timeless and fashion-forward. From the relaxed elegance of Kate Moss' iconic wedding look to the resurgence of 1920s-inspired bridal style, it's no surprise that more brides are rediscovering this beautifully distinctive silhouette for their modern wedding day.
Whether you're dreaming of understated English net, dramatic cathedral lengths, or delicate botanical lace, we've rounded up our favorite Juliet cap veils from top-rated independent bridal designers on Etsy. From minimalist styles to heirloom-inspired designs, these handcrafted veils prove there's a Juliet cap to suit every bridal aesthetic. Plus, we're sharing everything you need to know about choosing, styling, and wearing one with confidence.
What is a Juliet cap veil?
If you're curious about the story behind this distinctive bridal accessory, we've got you covered! A Juliet cap veil is a style of bridal veil that features a soft cap fitted over the crown of the head rather than attaching solely to the back of the hairstyle. Named after Shakespeare's famous star-crossed lover, Juliet, the style draws inspiration from medieval and Renaissance headwear before being embraced by brides throughout the 1920s. In its classic form, the cap gently frames the face before flowing into one or more layers of tulle or lace.
Unlike traditional veils secured beneath or above a bun or updo, a Juliet cap creates a softer, more integrated silhouette that beautifully frames the face. Depending on the designer, the cap may be adorned with lace, pearls, floral appliqués, or delicate embroidery, while the veil itself can range from shoulder length to sweeping cathedral styles.
We've seen the veil's recent revival reflects a broader shift in bridal fashion, with contemporary couples reimagining vintage favorites through a modern lens. Just as heirloom-inspired details like silver platters, audio guest books, and romantic lace accents on stationery have found a new audience, the Juliet cap veil offers timeless character without feeling like a costume.
Worn by style icons including Grace Kelly and, more recently, Kate Moss, it pairs effortlessly with everything from minimalist satin gowns to romantic lace dresses, proving that some bridal classics never truly go out of style.
All-Lace Knee Length Juliet Cap Veil
shop the lookThis long all-lace Juliet cap bridal veil is the ultimate in cool-girl bride aesthetic right now. Bonus: the designer Karla Roble can customize it to your preferred length to complement your wedding attire!
Knee Length Lace Juliet Cap Veil: Karla Roble via Etsy
Ivory Tulle Crystal Beaded Juliet Cap Veil
shop the lookMade from English tulle, this gorgeous accessory designed by Blair Nadeau Bridal perfectly matches every bride's personal style! We especially love that there are two combs on the inside where it gathers to fix into your hair style – beautifully accented with hand-stitched Preciosa crystals.
Crystal Beaded Juliet Cap Veil: Blair Nadeau Bridal via Etsy
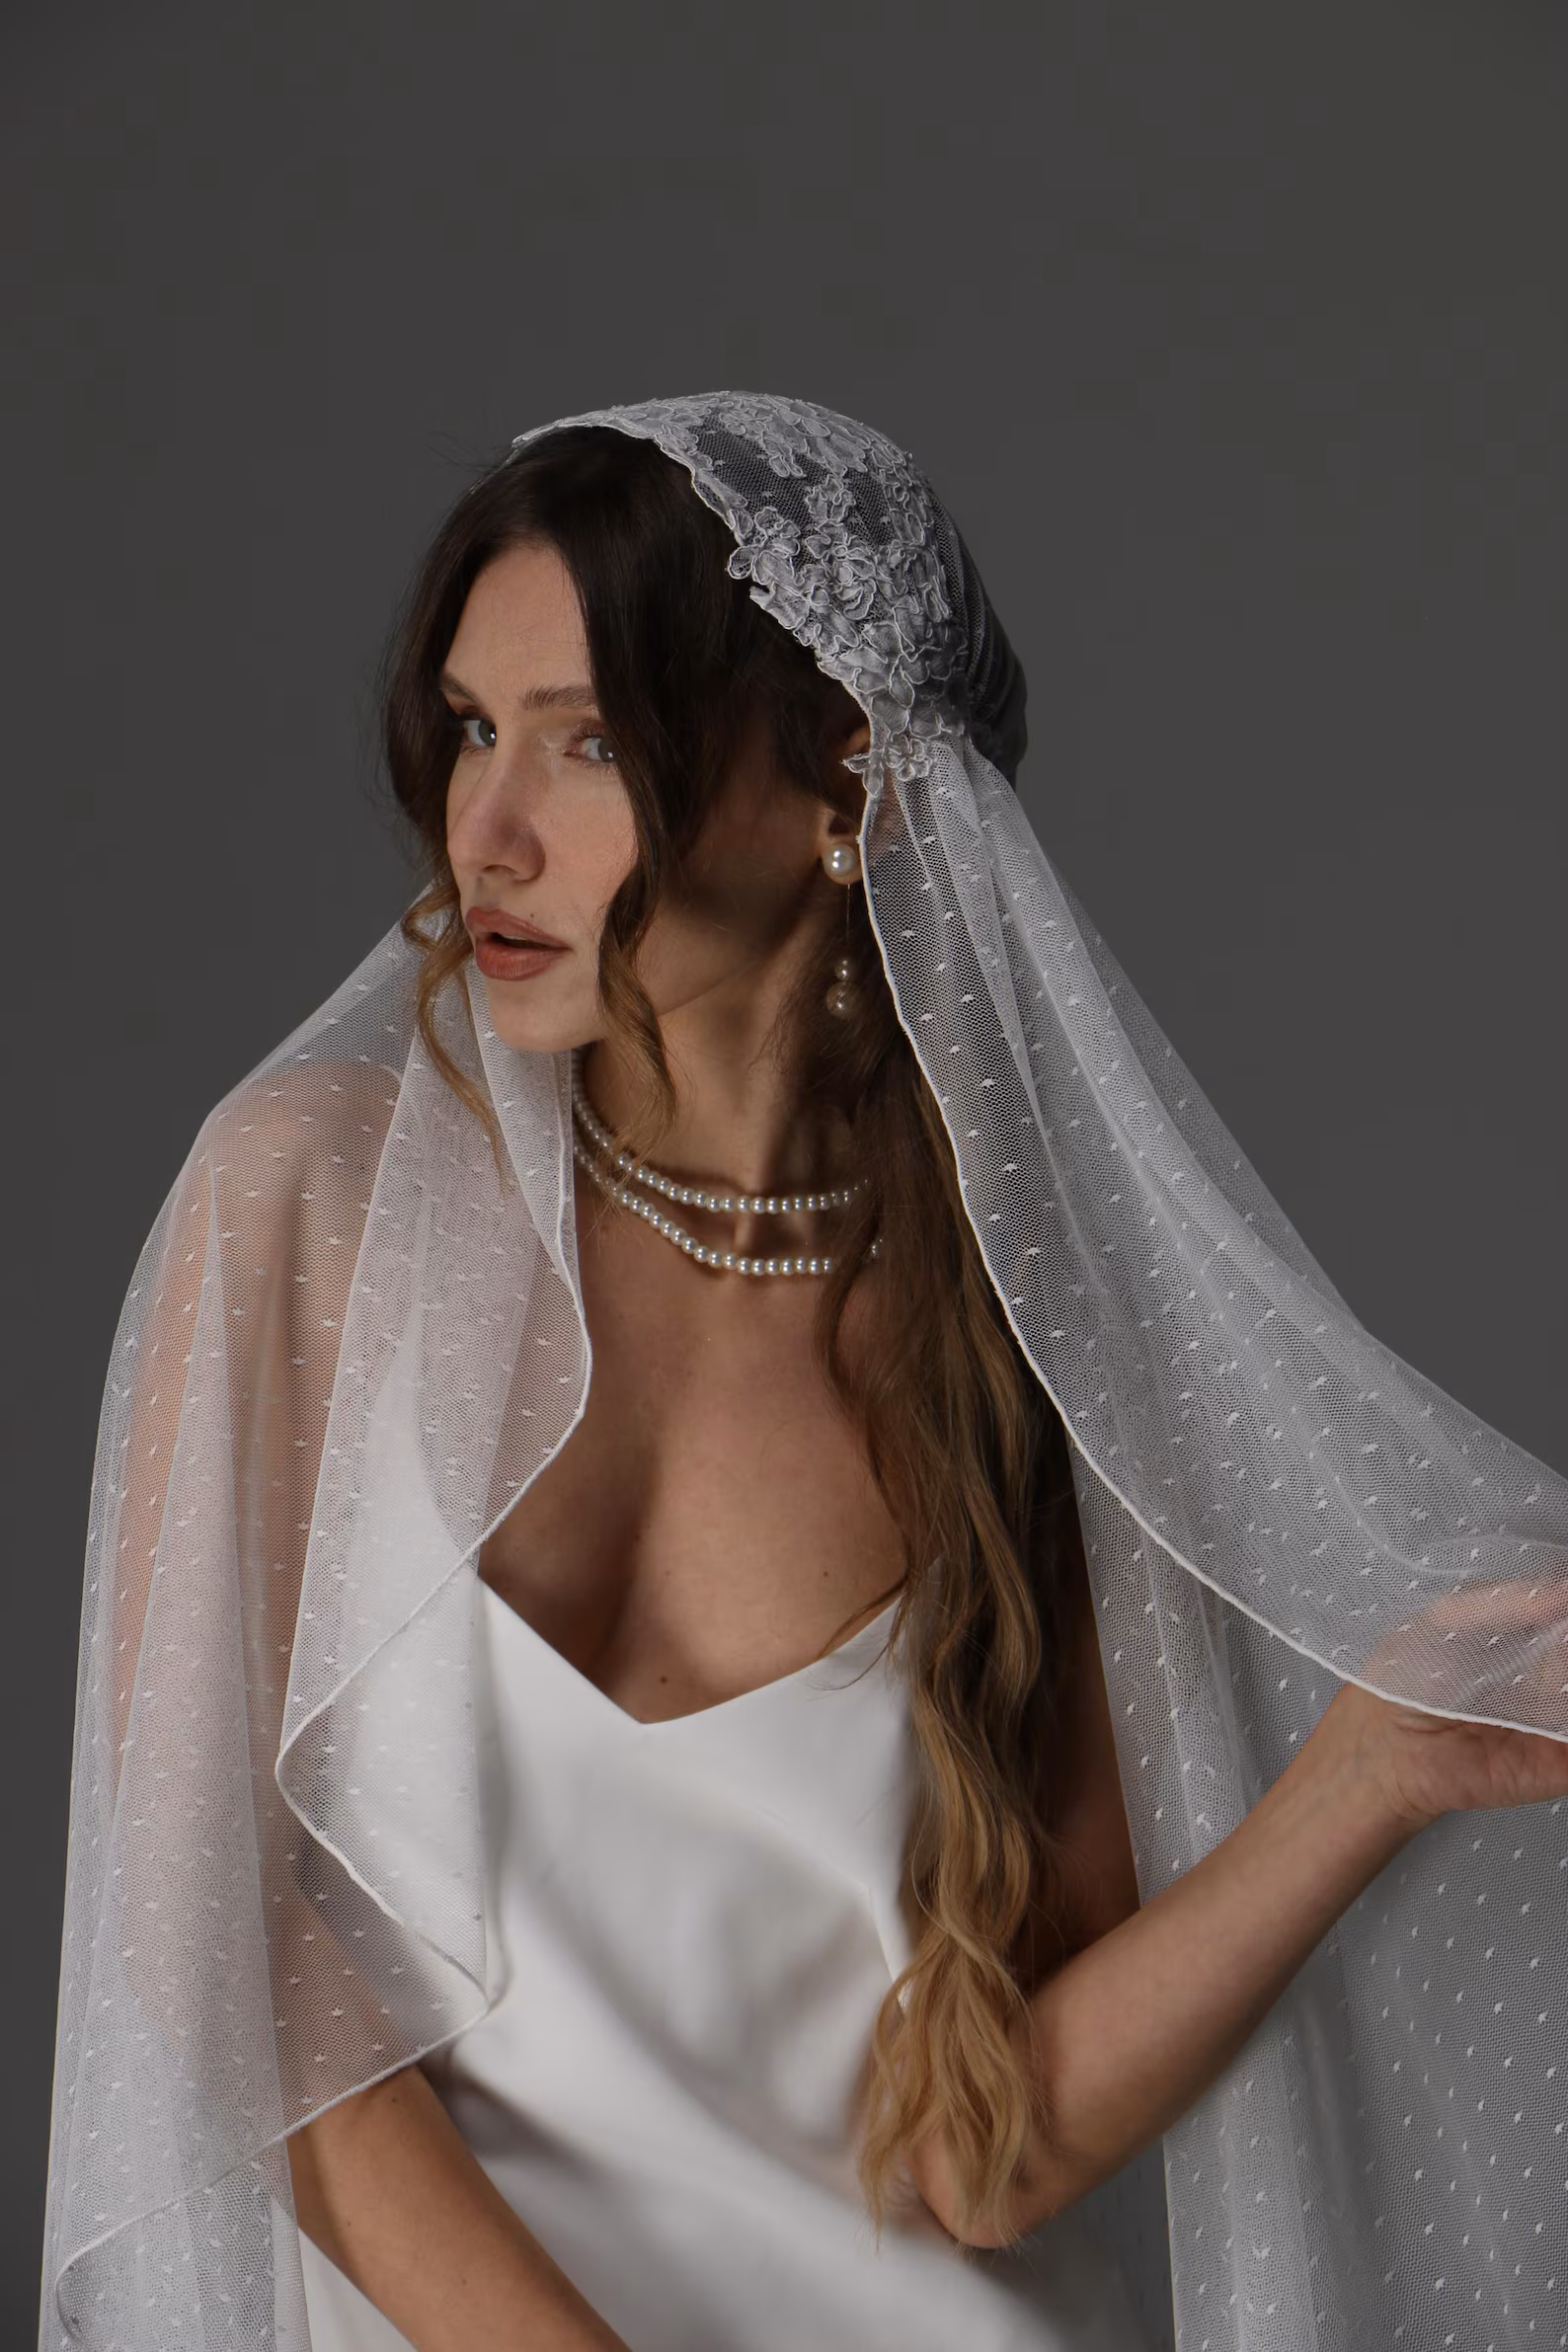
Dotted Tulle Juliet Cap Veil with Lace Appliqués
shop the lookCustomizable in two shades of ivory, we adore this dotted tulle take on this classic bridal accessory. The cap's lace appliqués give just the right amount of romance with the more whimsical veil for an editorial aesthetic.
Dotted Tulle Juliet Cap Veil with Lace Appliqués: Tina Bride via Etsy

Starburst Juliet Cap Veil
shop the lookInspired by the romance and charm of a bygone era, this long delicate veil gives a soft finishing piece to any wedding gown or attire. We love how it can be accessorized with any pins like these starbursts! (NB: Starburst pins not included from this designer.)
Starburst Juliet Cap Veil: Ruffled Rose Veils via Etsy
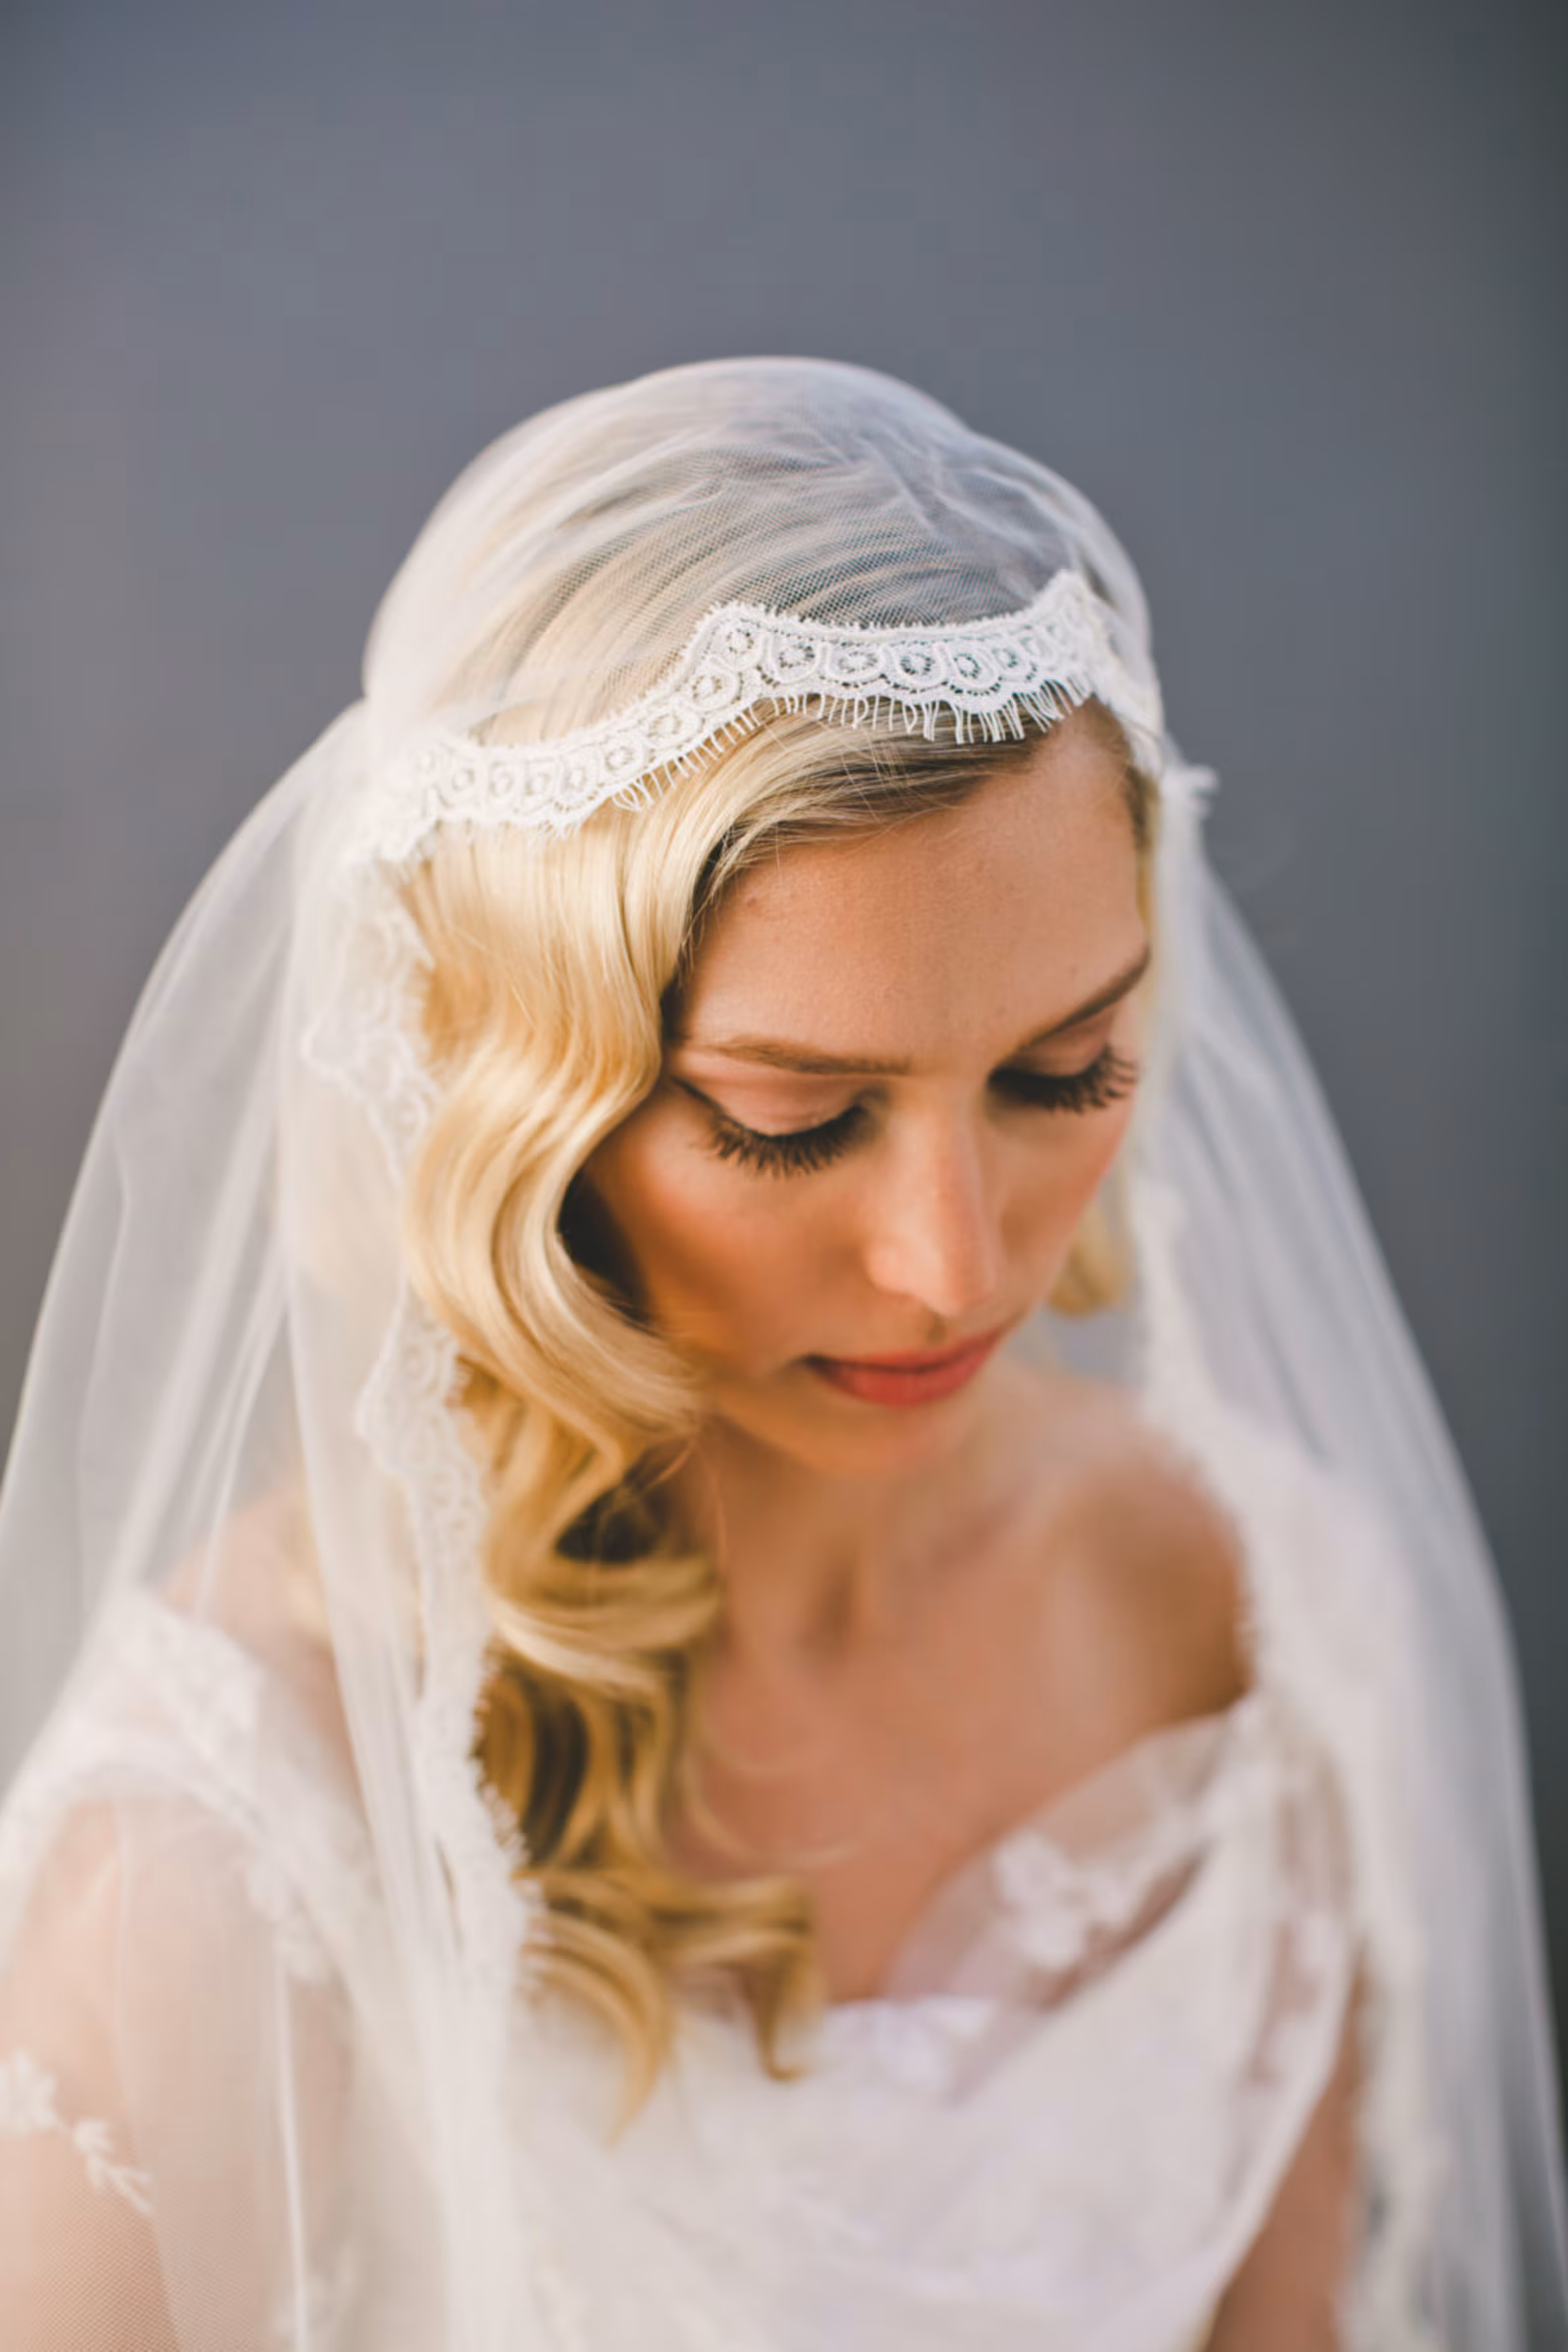
Scalloped Lace Trim Juliet Cap Veil
shop the lookFully edged in this designer's self-named Ada lace, this simple detail adds just a touch of vintage to this modern take on the Juliet cap veil. The tulle is English-made giving it a beautiful heritage quality to any bride looking for a timeless look!
Scalloped Lace Trim Juliet Cap Veil: Britten Weddings via Etsy
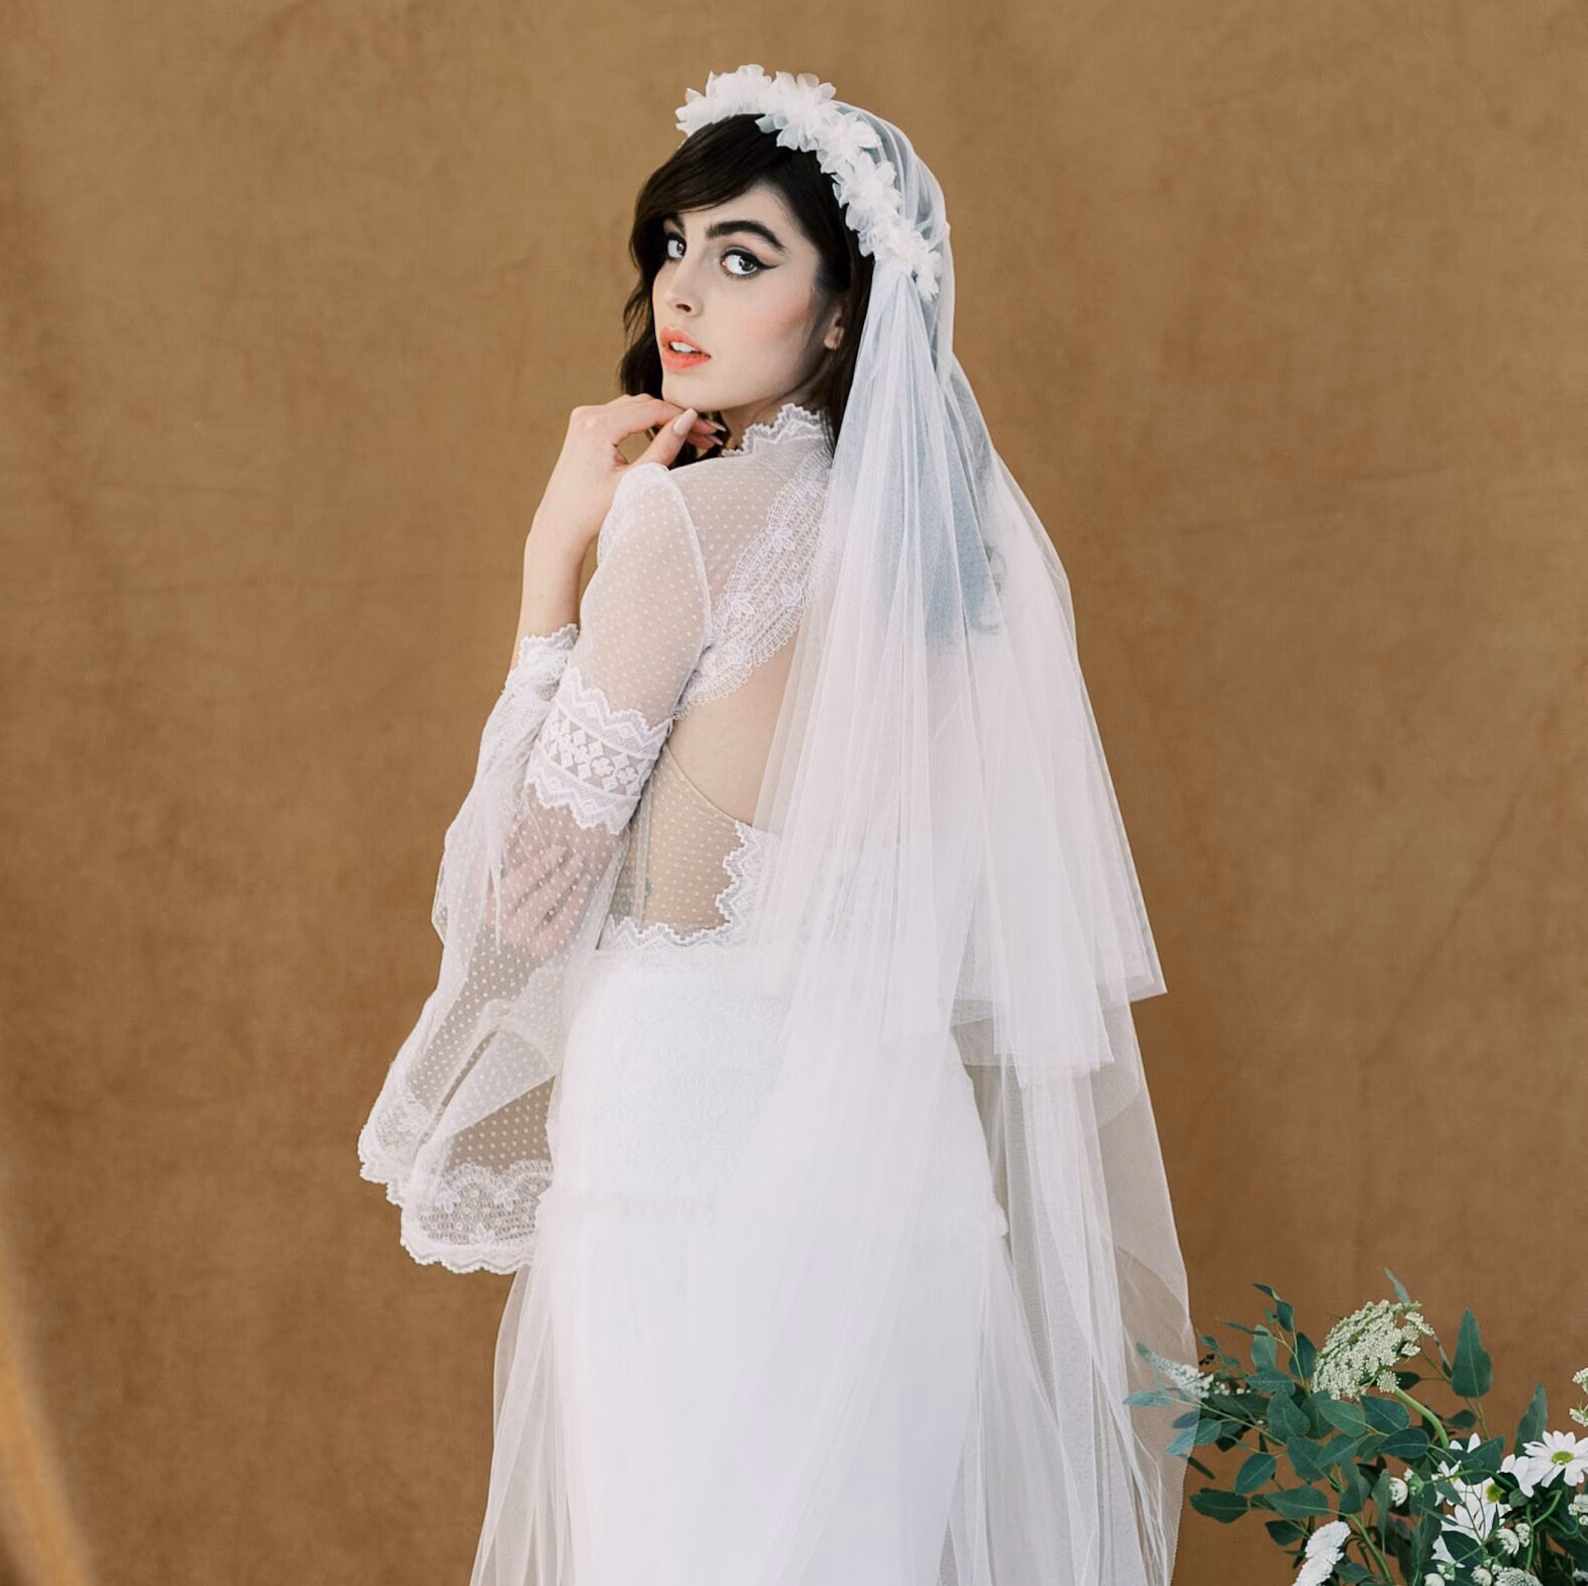
Silk Flower Crown Juliet Cap Veil
shop the lookDelicate hand-pressed silk organza and georgette flowers bloom across this romantic Juliet cap veil! Crafted from soft Irish net with a double-layered silhouette and blusher, it's a dreamy choice for brides drawn to vintage-inspired 1970s romance with a refined, modern feel.
Silk Flower Juliet Cap Veil: Blair Nadeau Bridal via Etsy
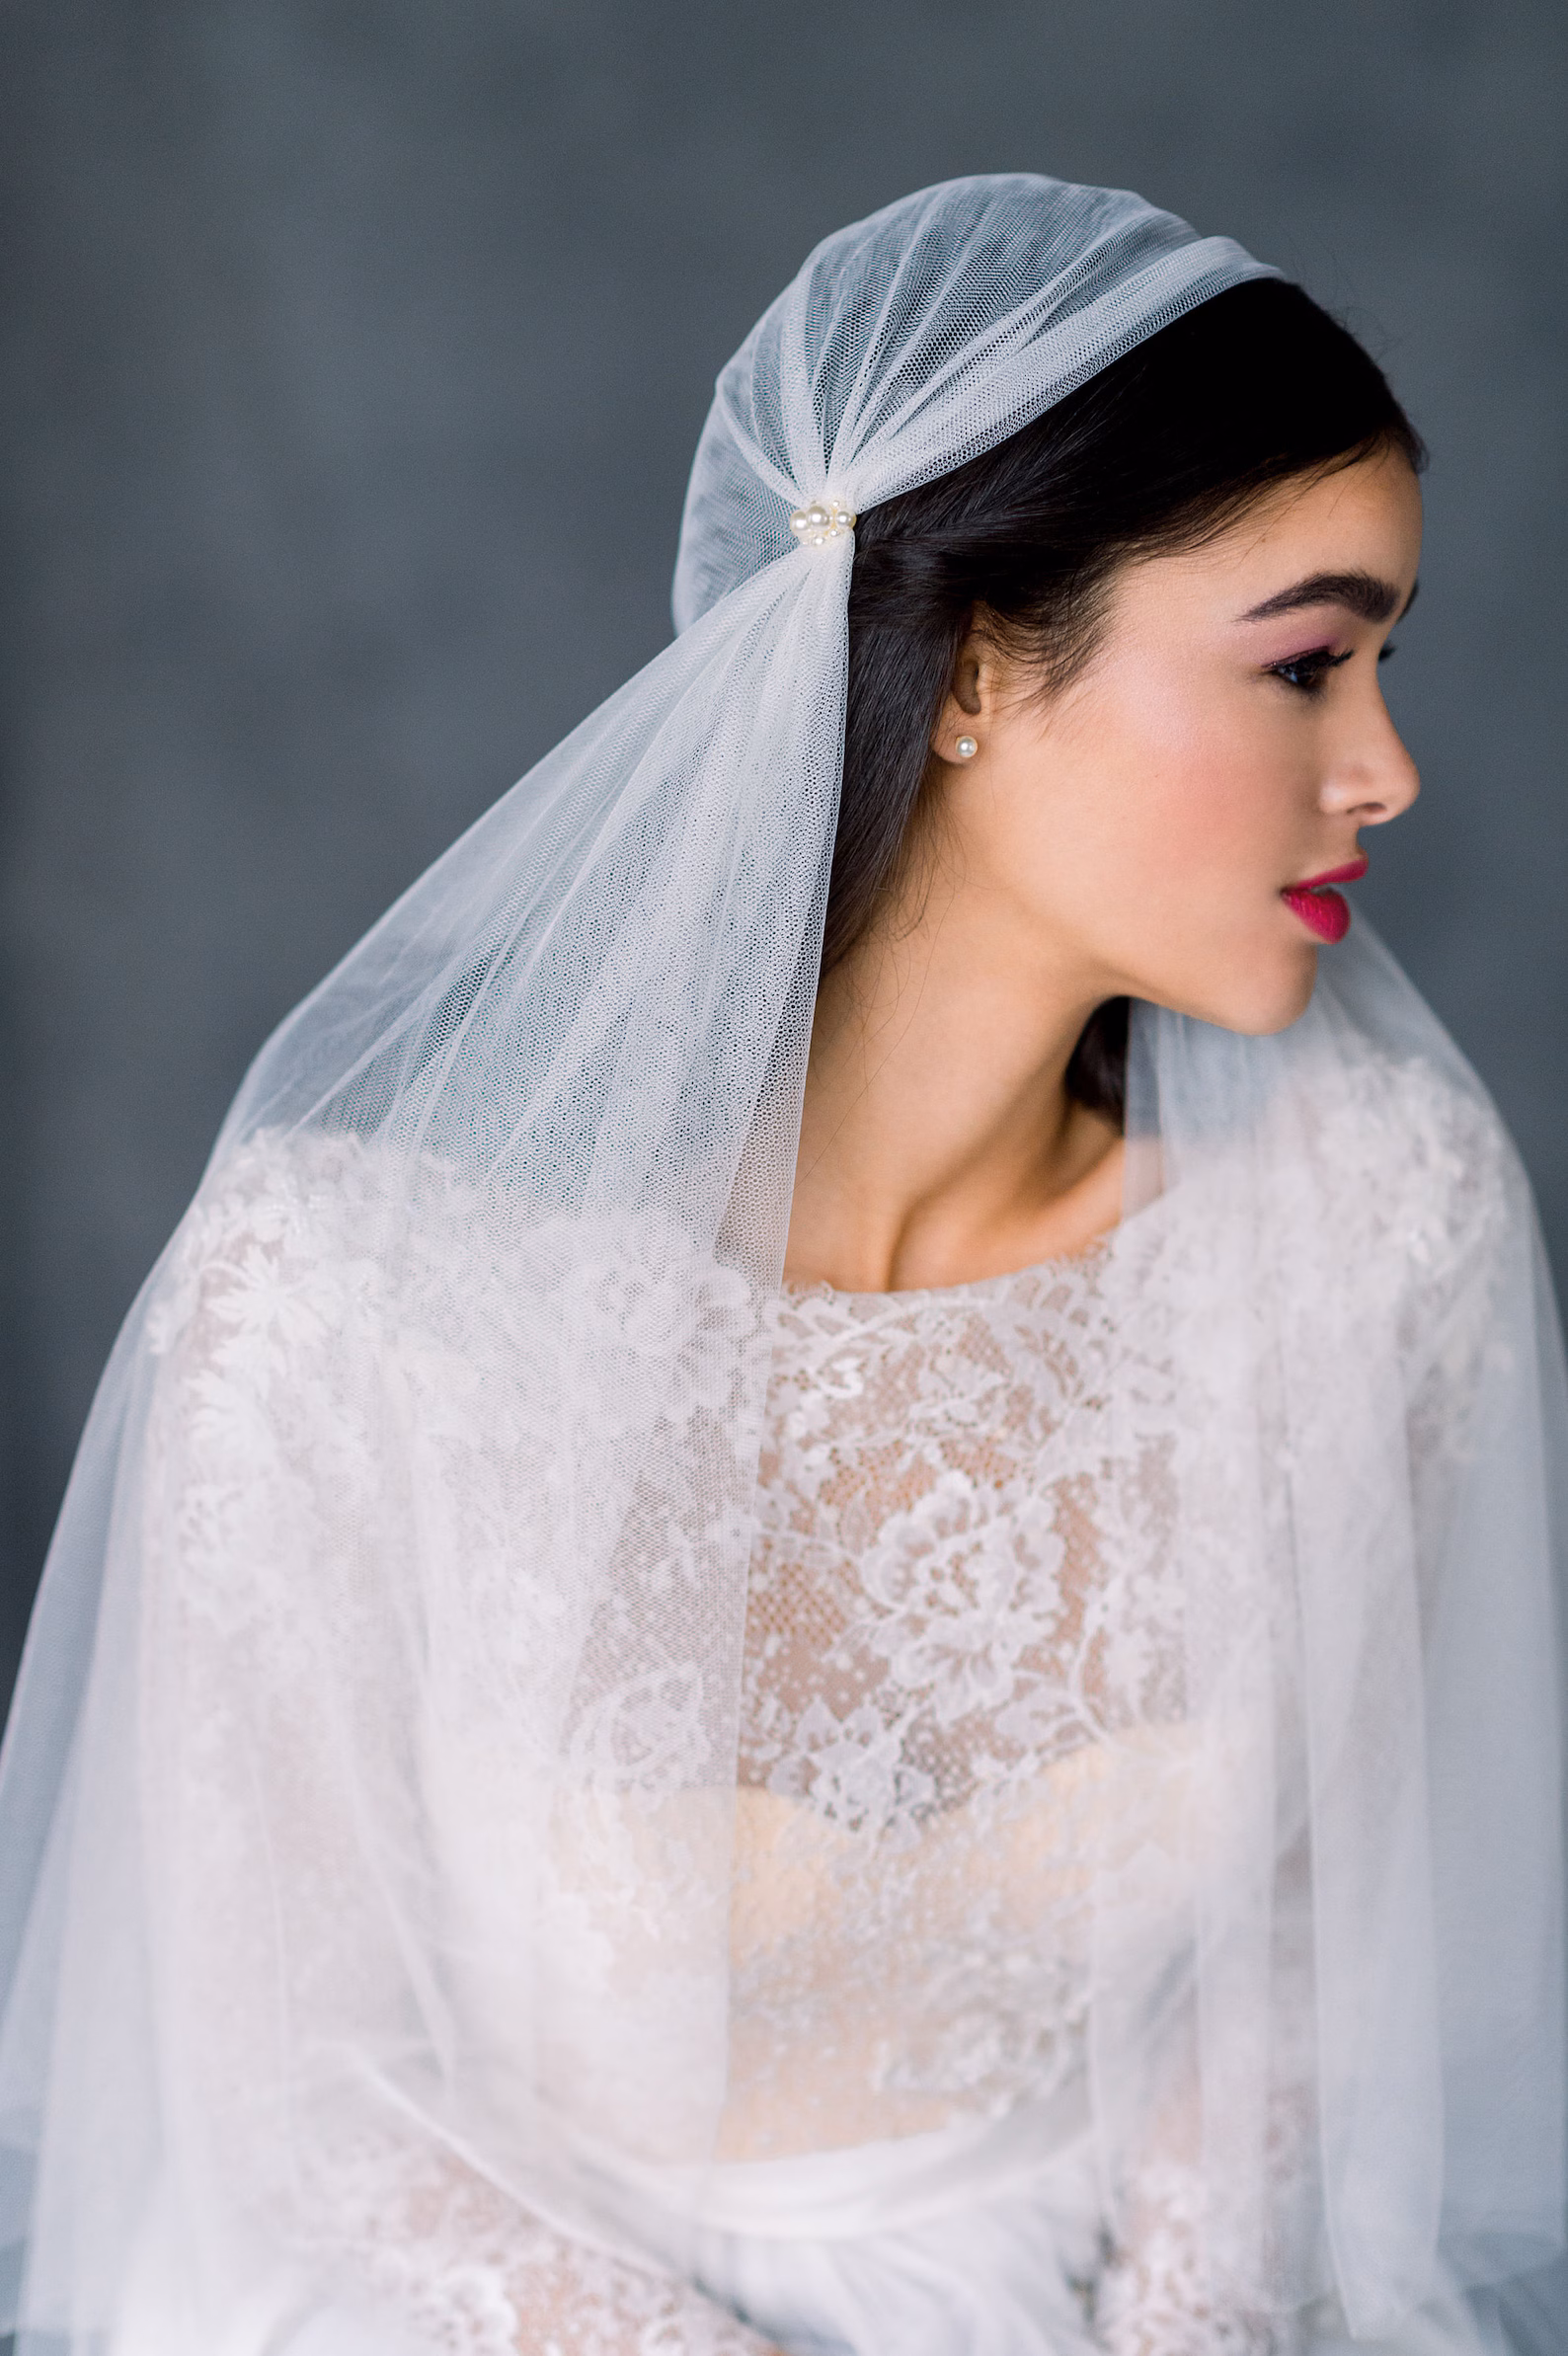
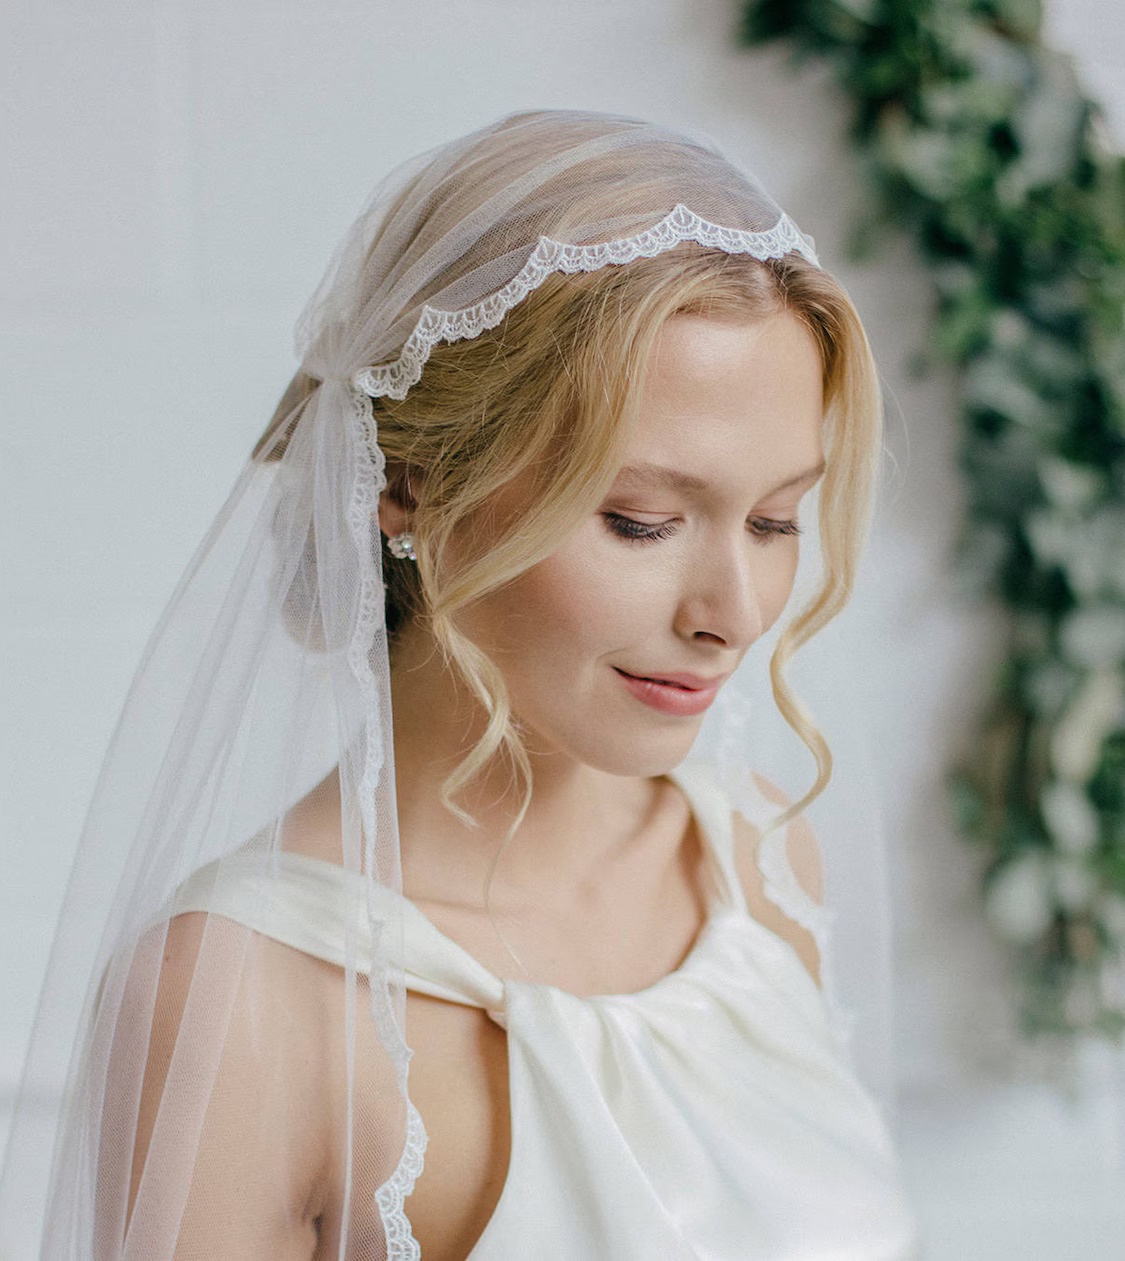
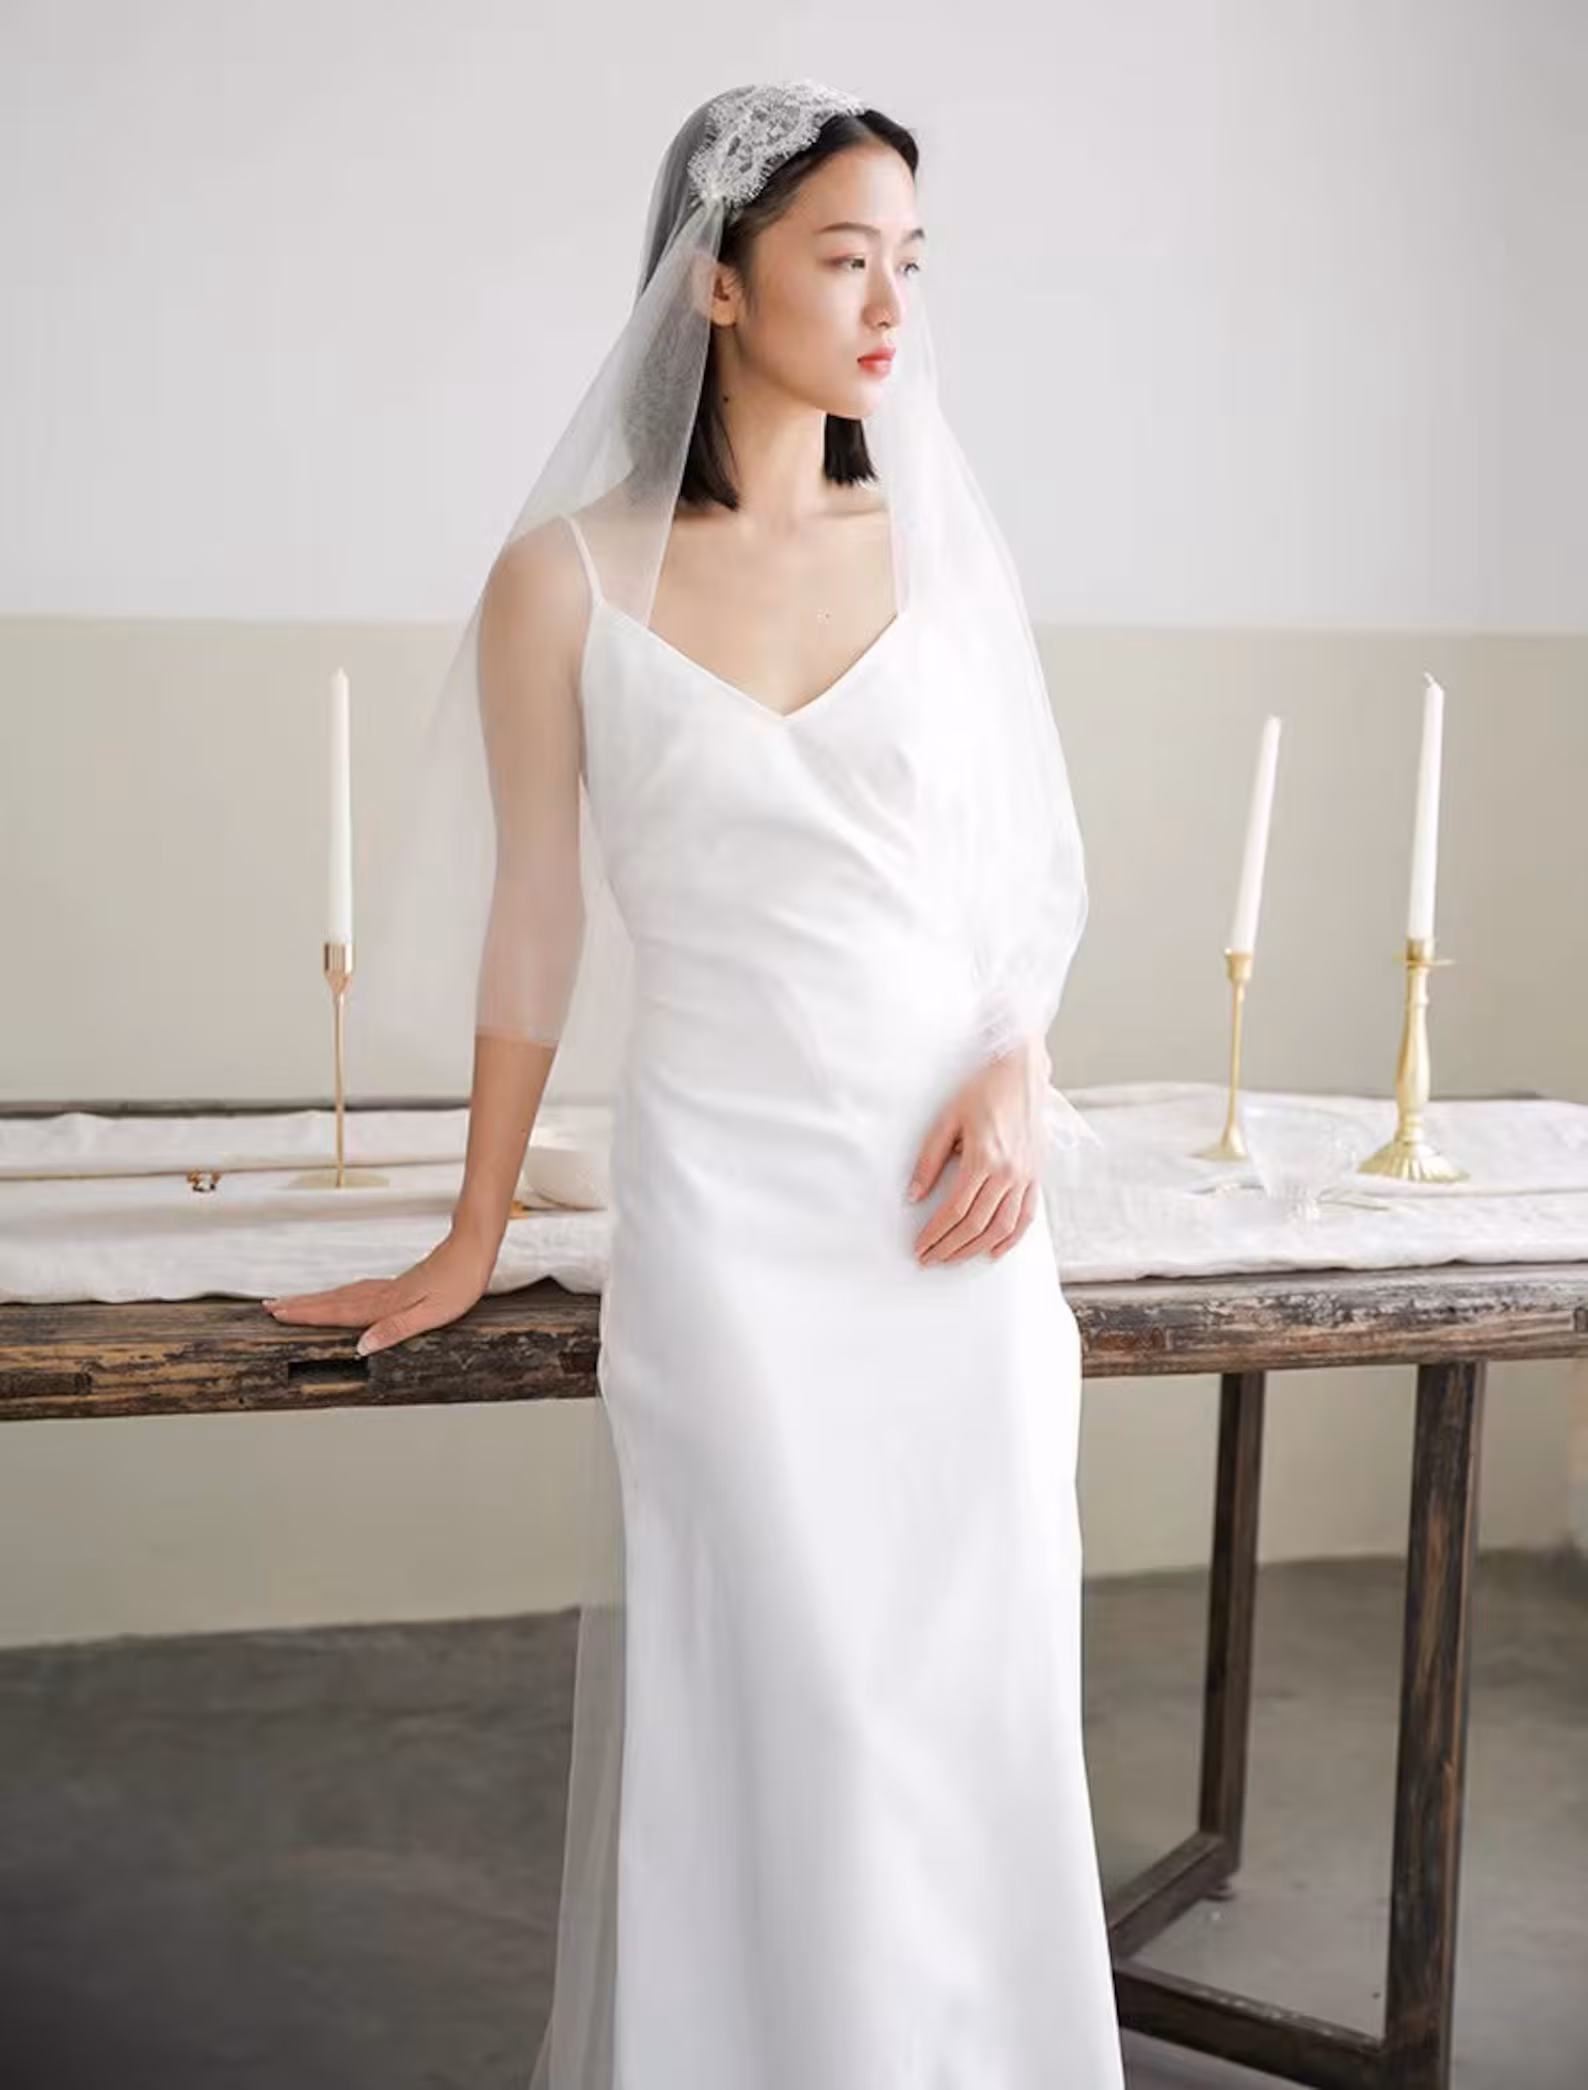
Pearl Beaded Juliet Cap Veil with Blusher
shop the lookSoft Irish net and delicate hand-beaded glass pearls give this minimalist Juliet cap veil an effortlessly romantic feel. With its graceful drape and understated embellishment, it's a beautiful choice for brides seeking quiet elegance over ornate detailing.
Pearl Beaded Juliet Cap Veil with Blusher: Blair Nadeau Bridal via Etsy
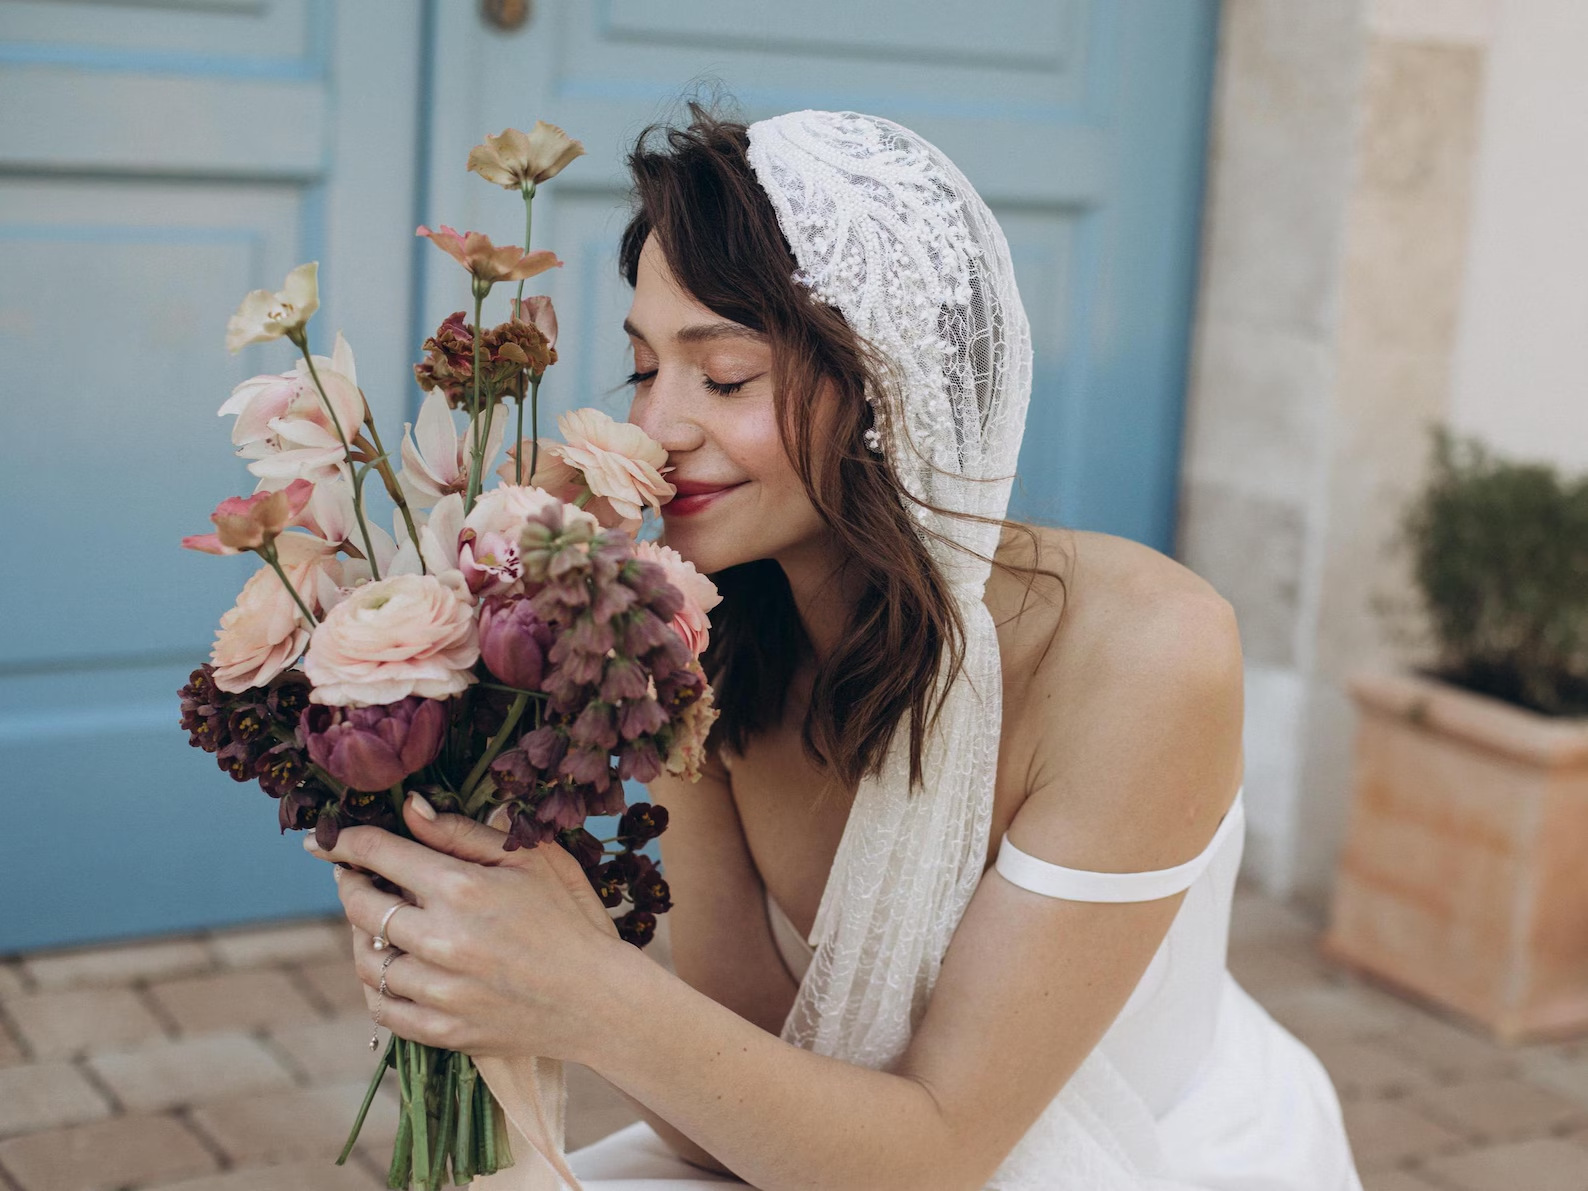
Boho Chantilly Lace Juliet Cap Veil
shop the lookRelaxed and romantic, this boho-inspired Juliet cap veil features delicate Chantilly lace with nature-inspired appliqués that frame the crown. Its softly draped silhouette makes it a beautiful choice for woodland weddings, garden celebrations, or brides embracing an ethereal aesthetic!
Bohemian Lace Juliet Cap Veil: Poliana Artistry via Etsy
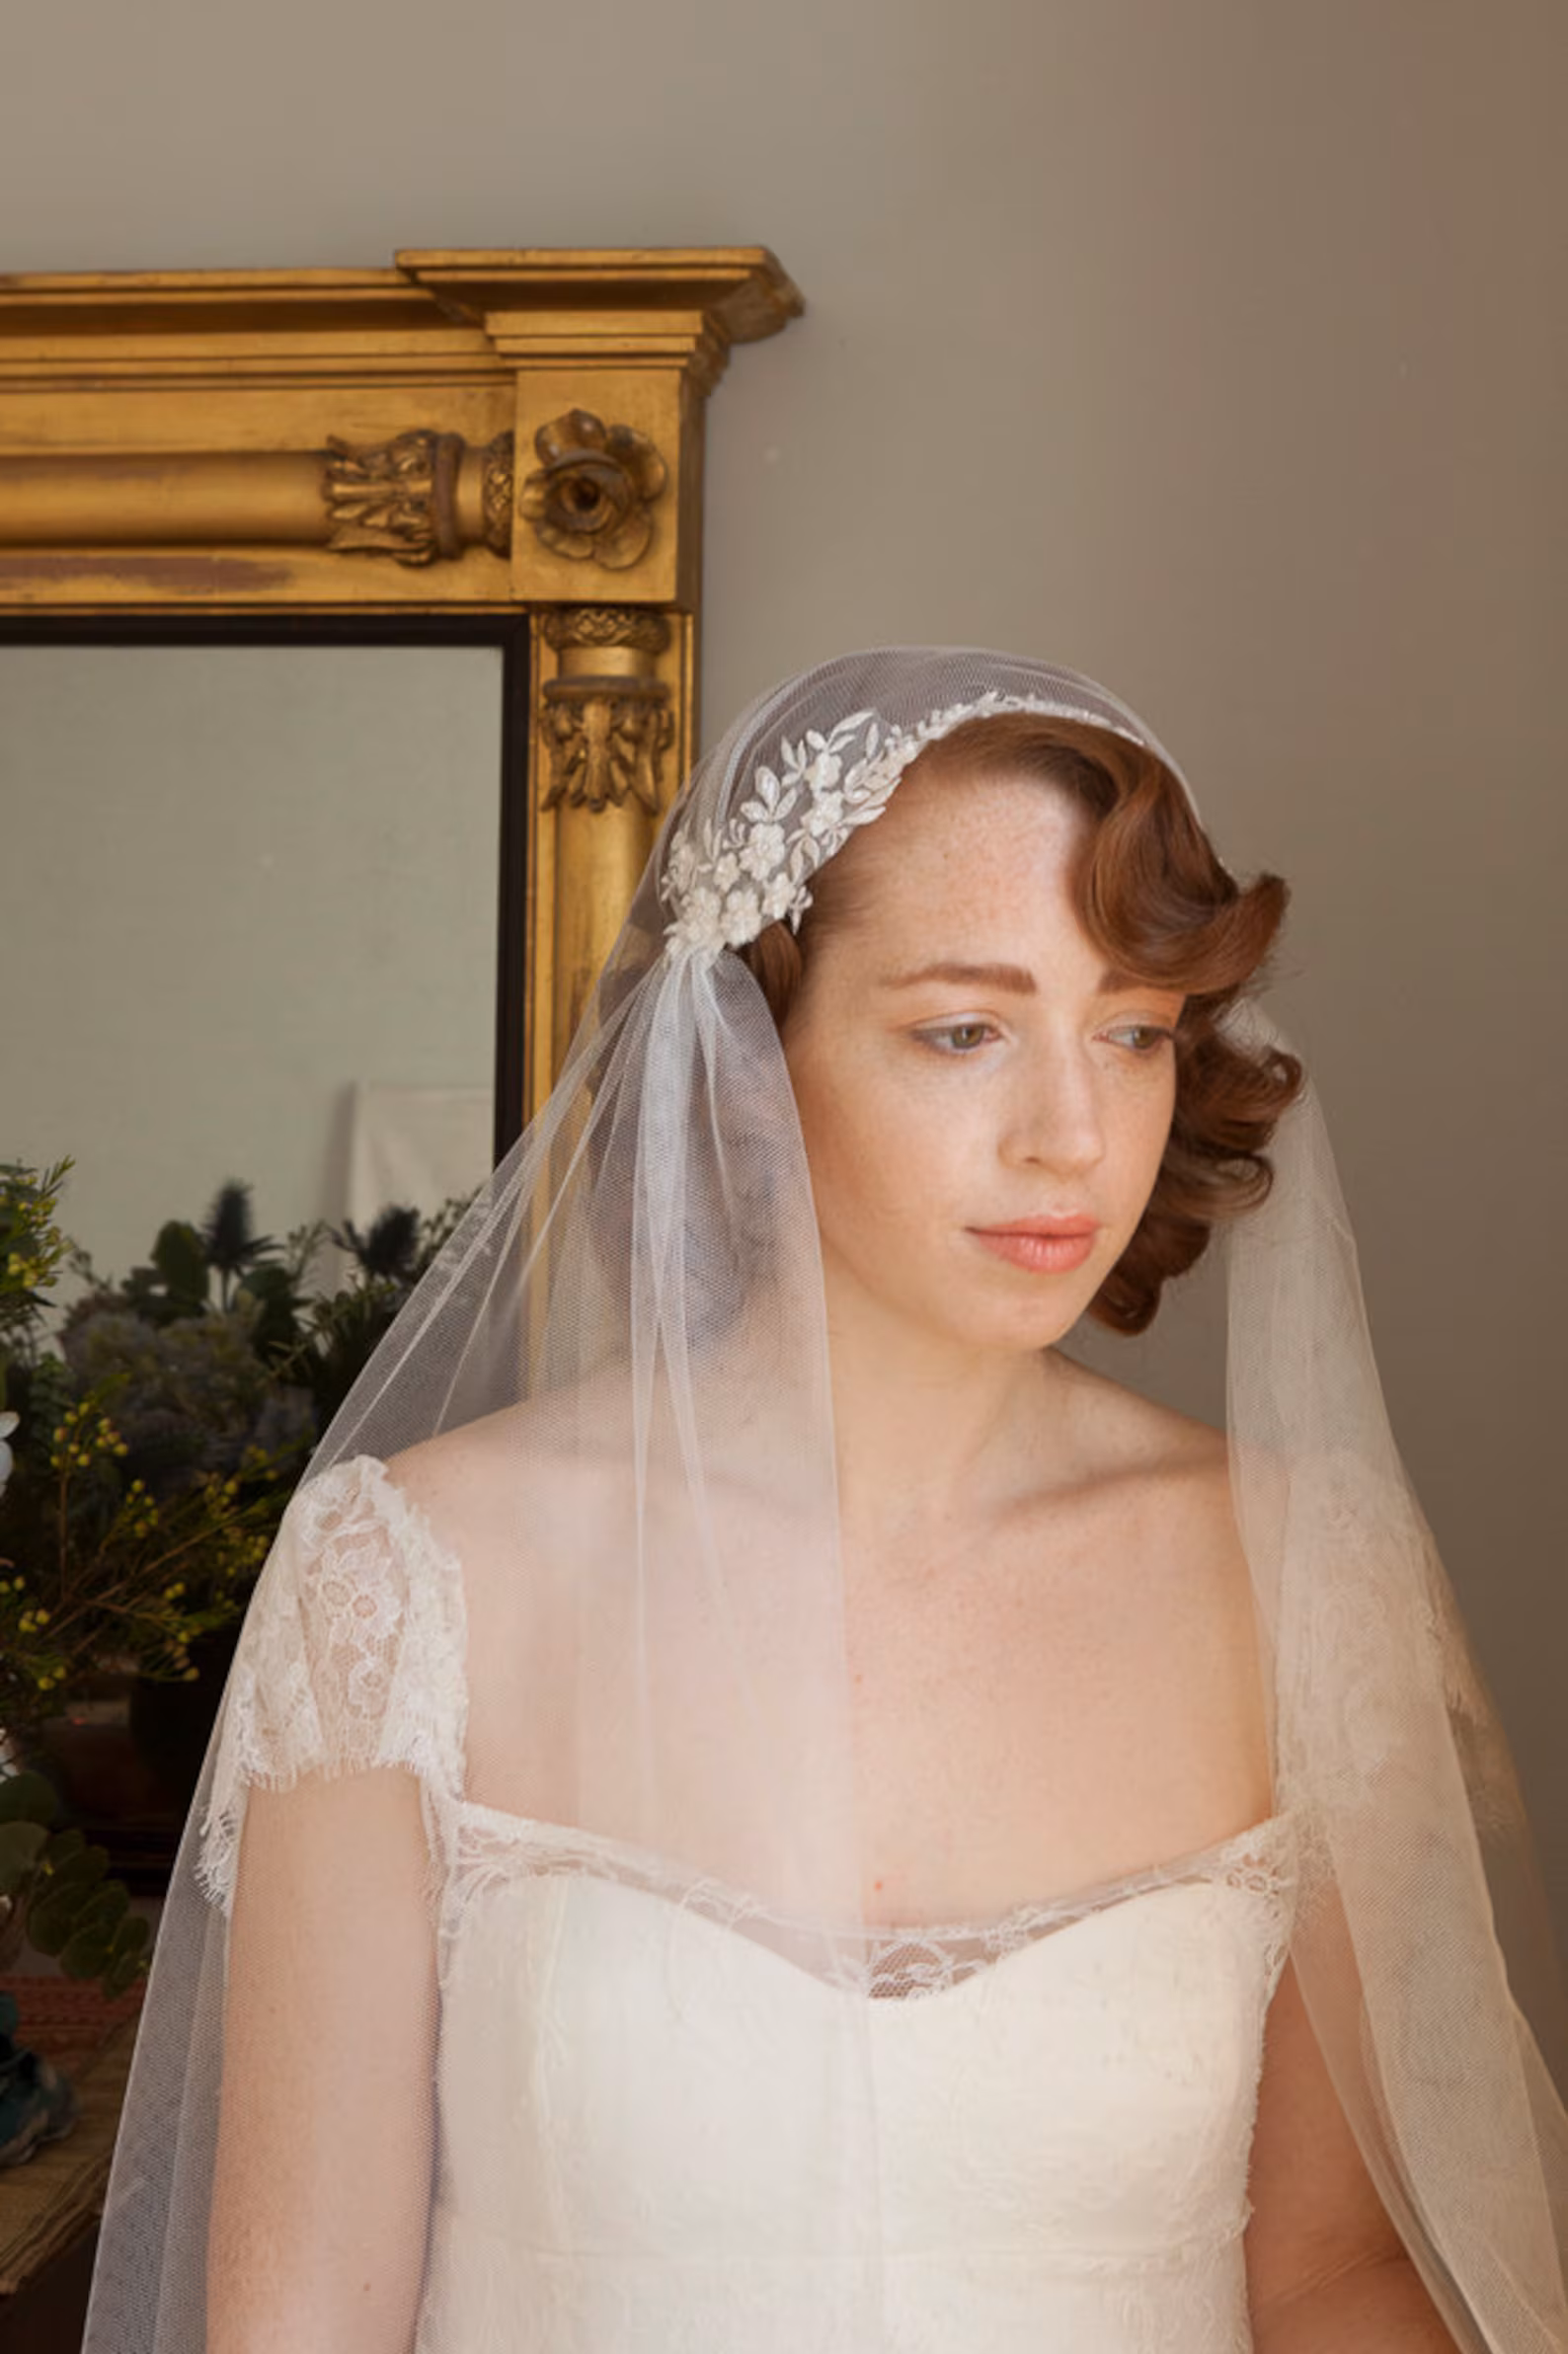
Vintage Floral Juliet Cap Veil
shop the lookChannelling the iconic style of Kate Moss' Juliet cap veil, this design pairs soft English tulle with an asymmetrical floral lace trim accented by delicate beadwork. Hidden side combs create a seamless finish, while the versatile silhouette can be worn higher on the crown or lower across the forehead for a subtle nod to 1920s glamour.
Vintage-Inspired Flower Juliet Cap Veil: Agnes Hart via Etsy
Lace Chapel Length Juliet Cap Veil with Two Tiers
shop the lookFeaturing a dramatic cathedral-length layer beneath a shorter chapel-length veil, this Juliet cap design offers beautiful depth and movement. Finished with delicate lace trim and vintage-inspired gathers, it's a timeless choice for brides drawn to classic romance with a softly nostalgic feel.
Lace Two Tier Chapel Length Juliet Cap Veil: Coming Up Roses Bridal via Etsy
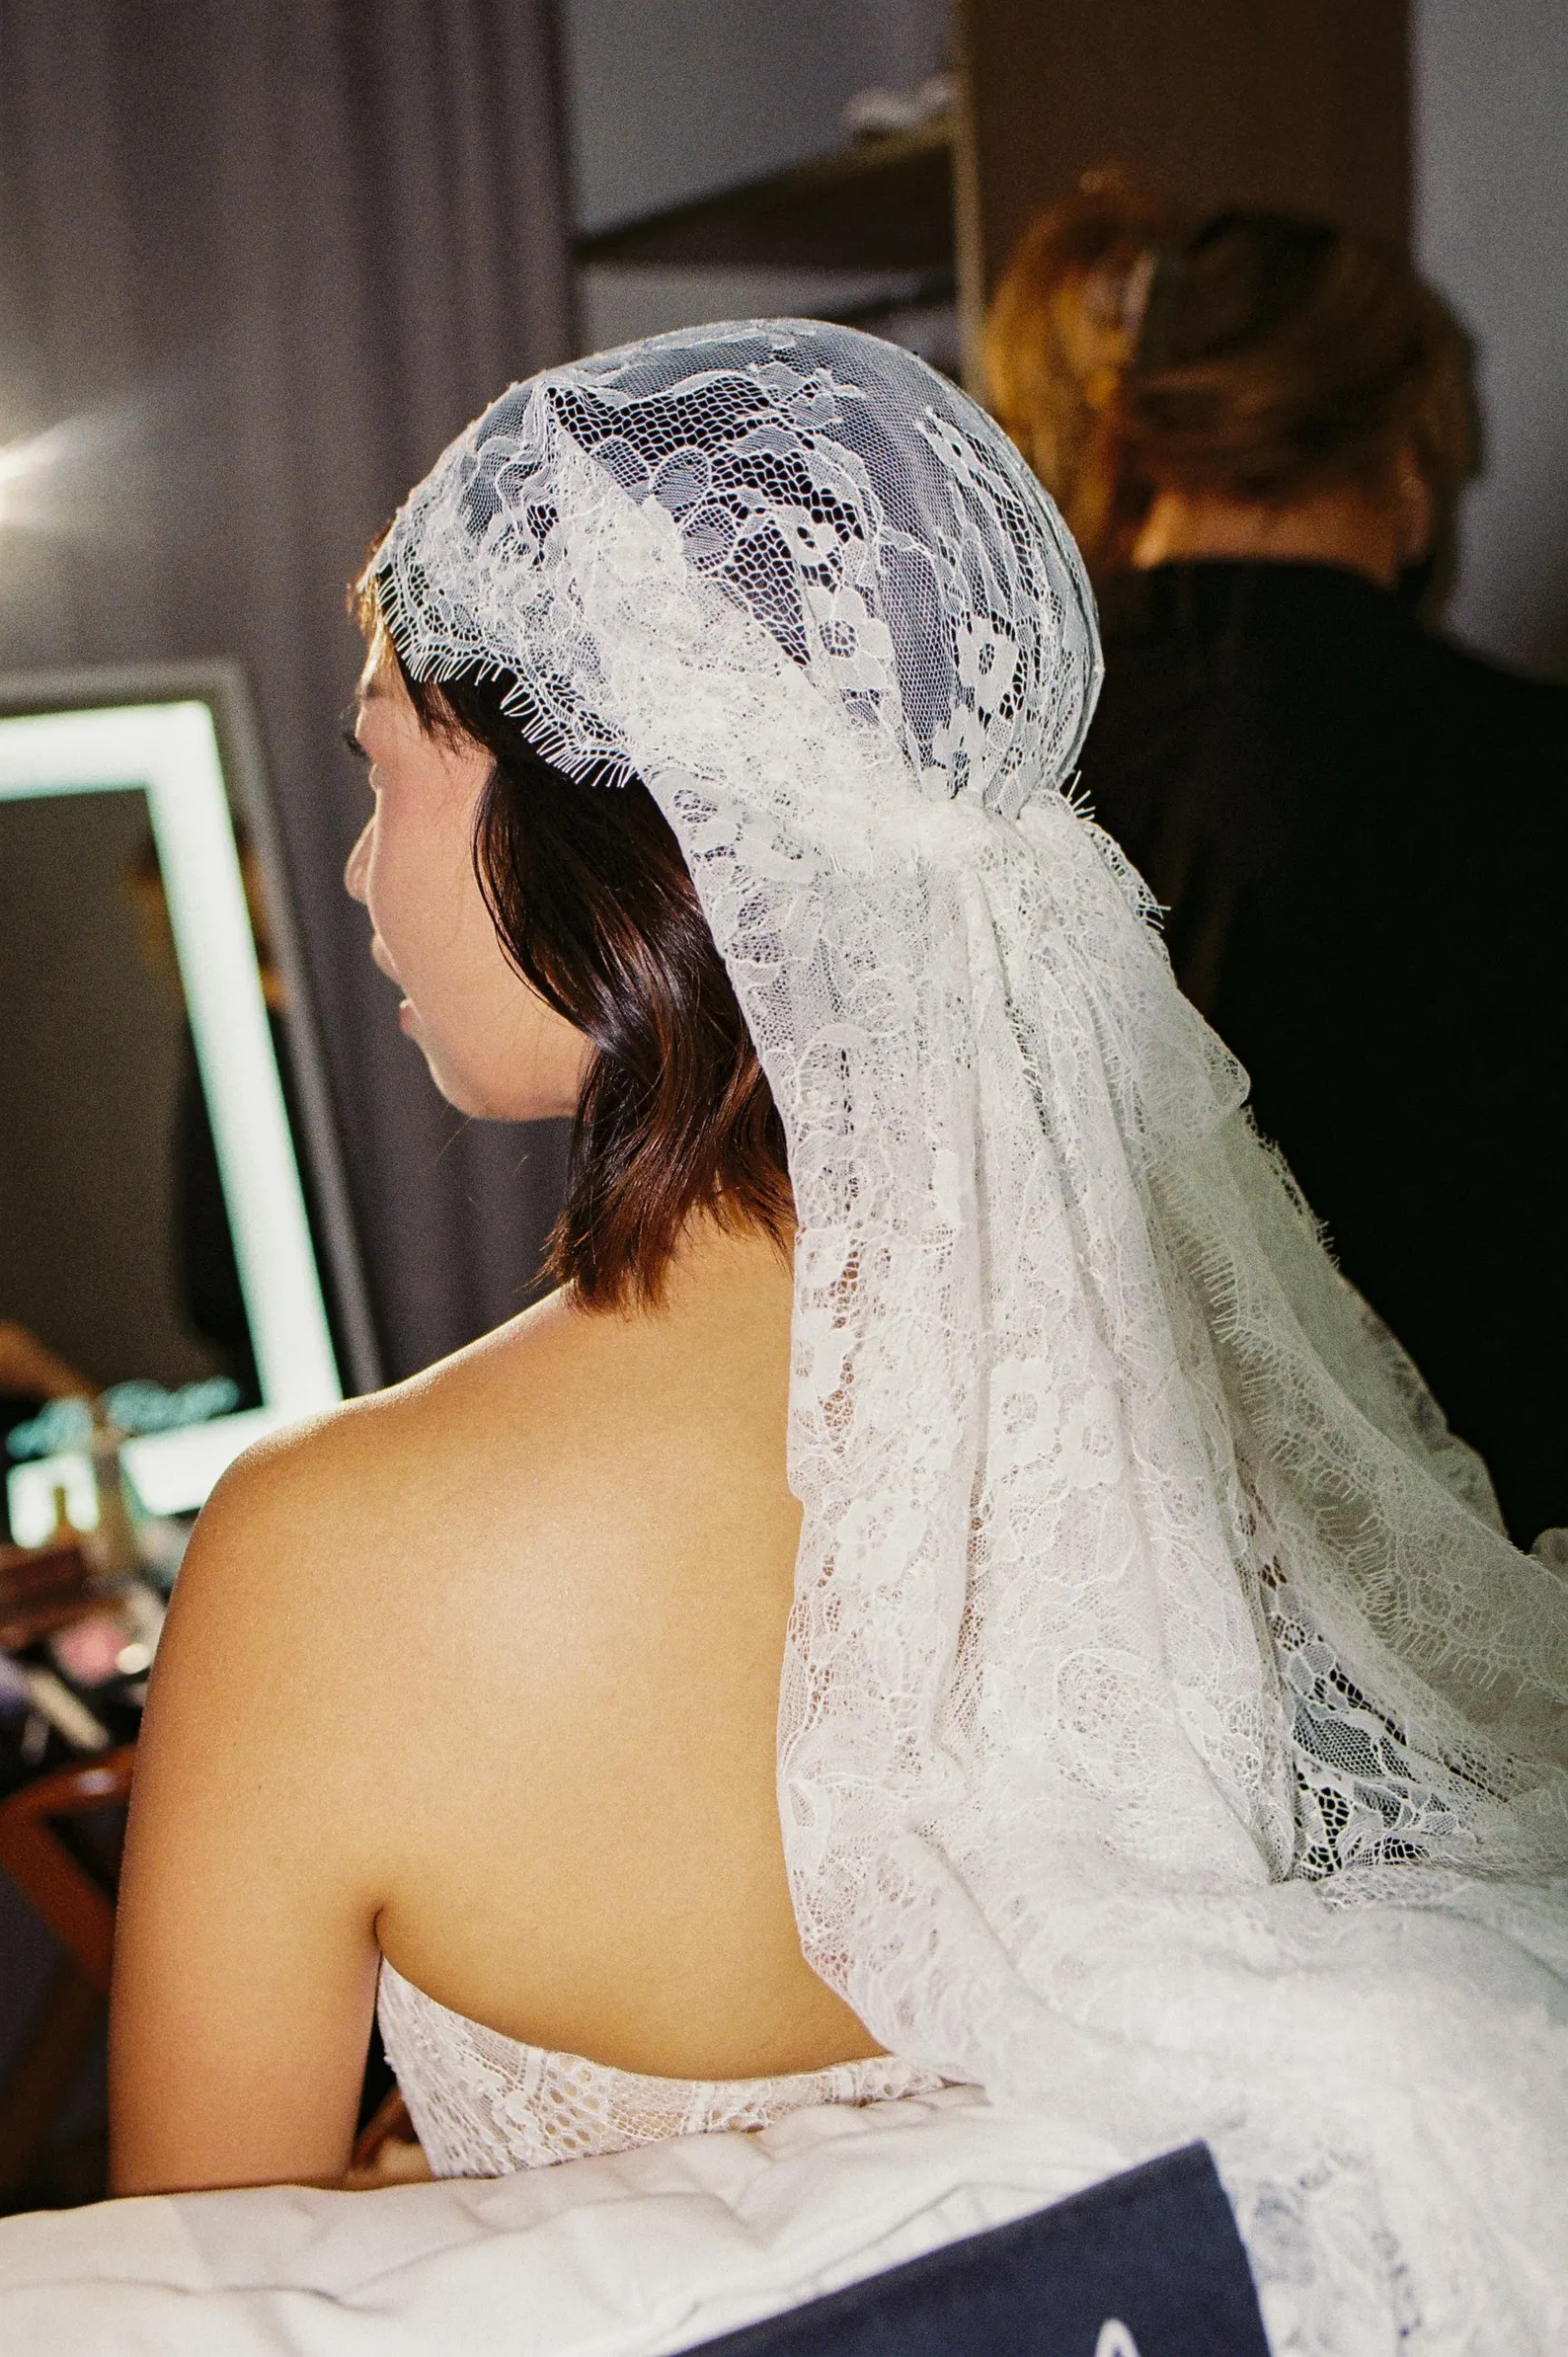
Lace Fringe Juliet Cap Veil
shop the lookFinished with delicate Alençon lace and an eyelash fringe trim, this handcrafted Juliet cap veil blends vintage elegance with soft, romantic texture. Available in airy bridal illusion tulle or English net, it's a timeless design that beautifully frames the face while adding subtle Old Hollywood drama.
Lace Fringe Juliet Cap Veil: Veiled Beauty via Etsy
Frequently Asked Questions About Juliet Cap Veils
How do you attach and secure a Juliet cap veil?
Most Juliet cap veils feature hidden side combs at the temples. To secure the veil, slide each comb into the hair just above your ears, then reinforce it with crisscrossed bobby pins hidden beneath the lace or fabric edge. If you're wearing your hair down, creating small, concealed anchor braids near each temple gives the combs extra grip. You can also swap plain pins for decorative hairpins or starburst pins (as seen above) to add a little extra sparkle.
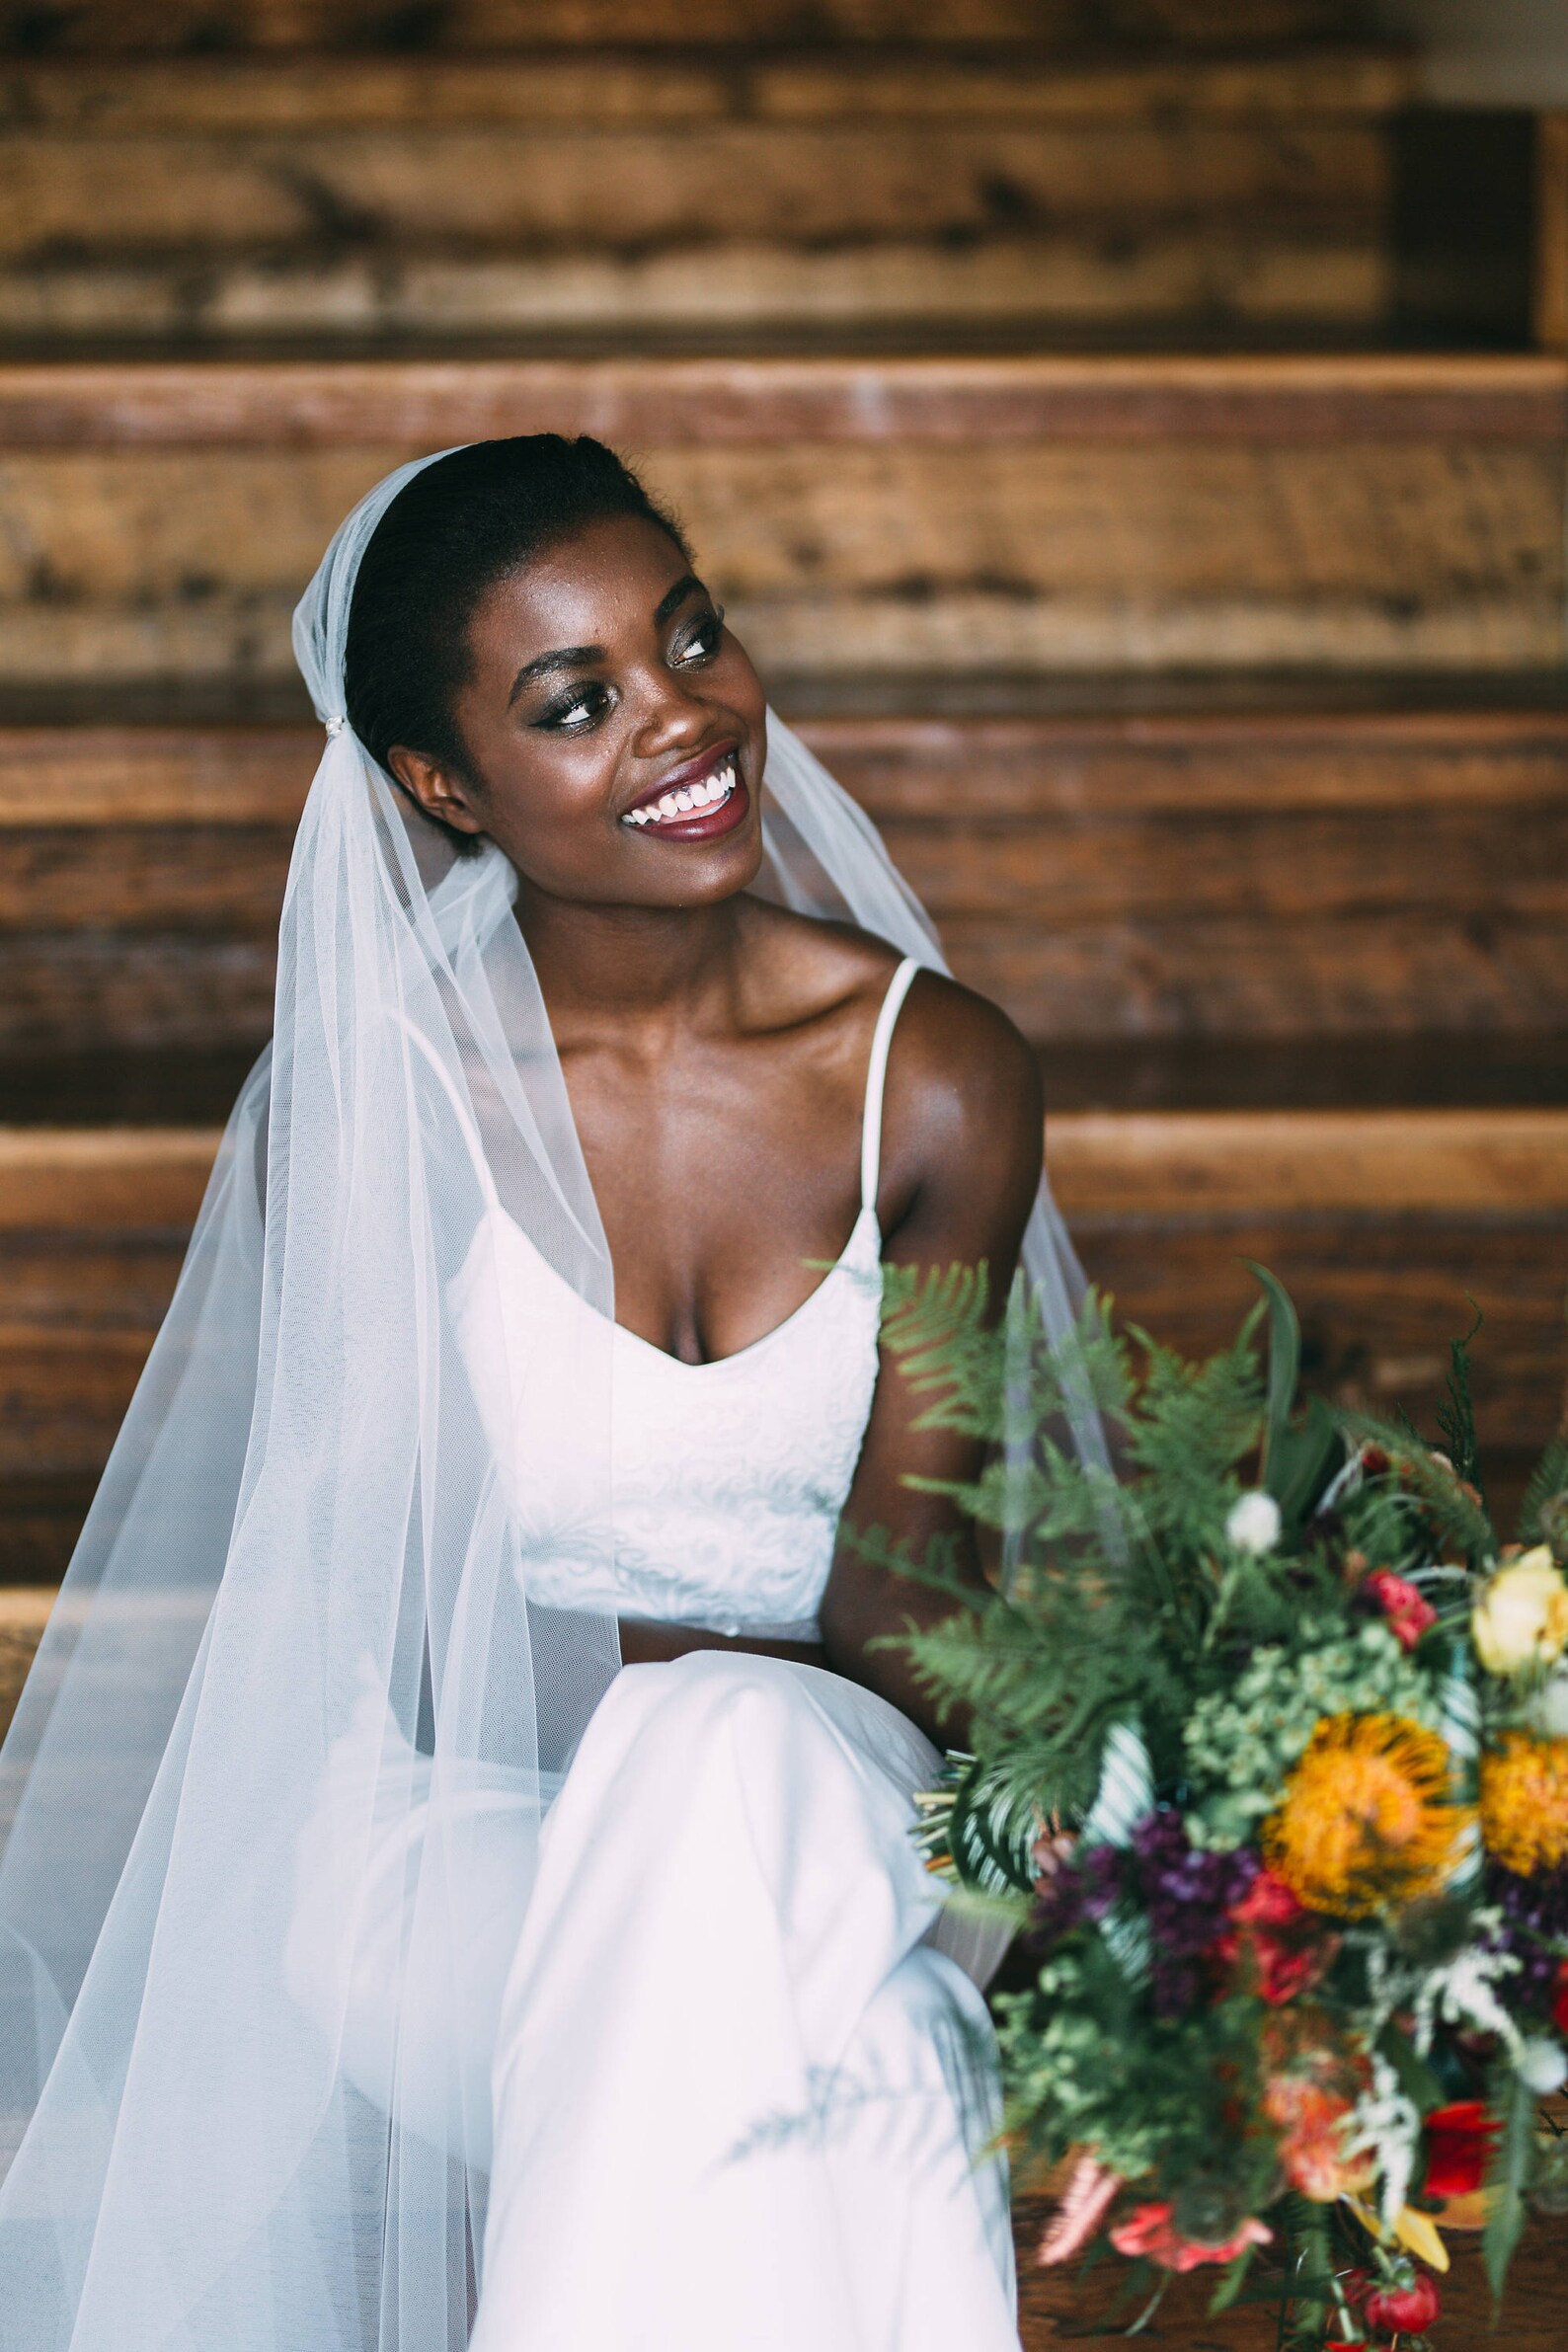
What hairstyle looks best with a Juliet cap veil?
We think any and every bride can rock this veil! One of the best things about a Juliet cap veil is its versatility; it suits almost every hairstyle. Because the cap sits close to the head, it pairs particularly well with relaxed, low-volume styles. Smooth centre parts, effortless Hollywood waves, low chignons, sleek buns, and chic bobs all beautifully showcase the face-framing silhouette without adding unnecessary bulk.
Can you remove a Juliet cap veil for the reception?
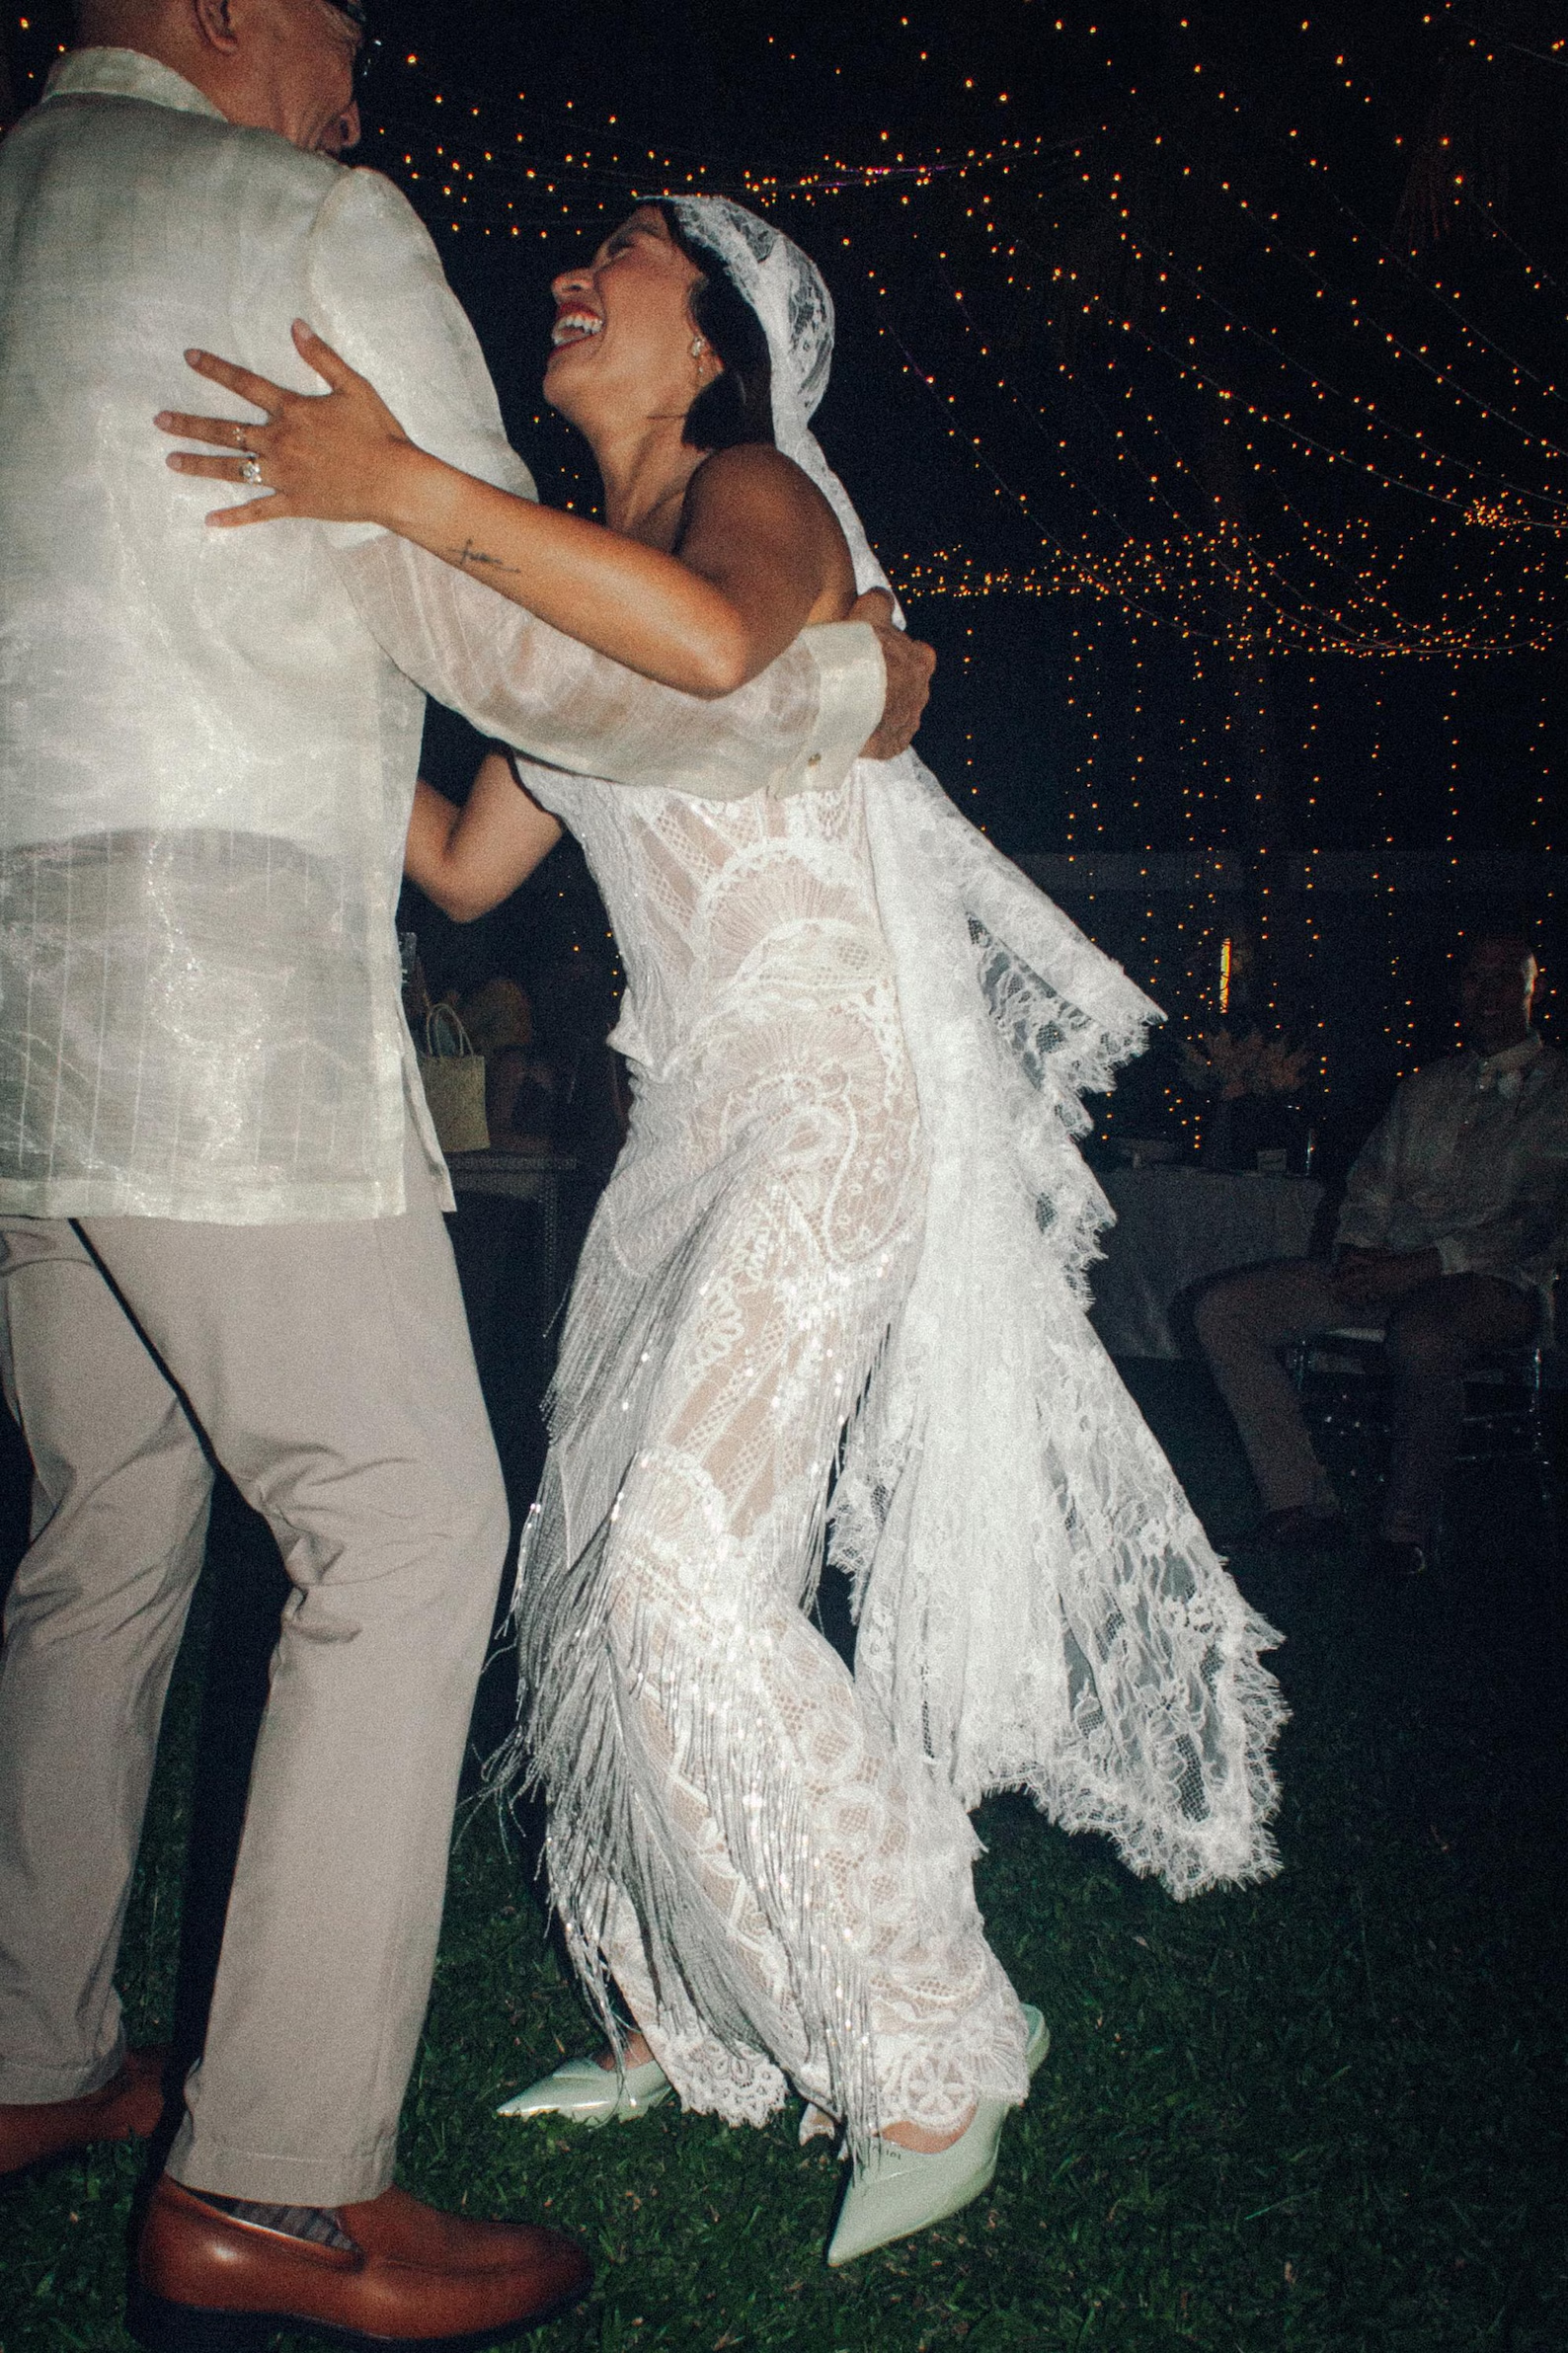
Absolutely! If you plan to remove your veil after the ceremony, let your hairstylist know in advance so they can position the pins for easy removal. Some Juliet cap veils are also designed in two pieces, allowing the tulle to detach while leaving the decorative cap or side combs in place. Of course, there's no rule that says you have to take it off either! Many brides happily wear their Juliet cap veil well into the evening reception (as seen in our first veil pick). Choose the option that feels most comfortable for you.

WRITTEN BY
Tidewater and Tulle Editorial Team
Creative Wedding Inspiration since 2013
Committed to bringing your dream wedding to life through creative, approachable ideas, the Tidewater & Tulle Editorial Team curates real weddings, expert DIY tutorials, and stylish inspiration for couples worldwide. Grounded in decades of collective wedding industry experience and featured in top publications like Martha Stewart Weddings and InStyle, our mission is to inspire meaningful celebrations.
Editor's Note: Specially curated by us, the above product links are partner-connected and purchasing through these links means we get a small commission from those brands that helps support this website. You can find our full affiliate disclosure policy here on Tidewater and Tulle.
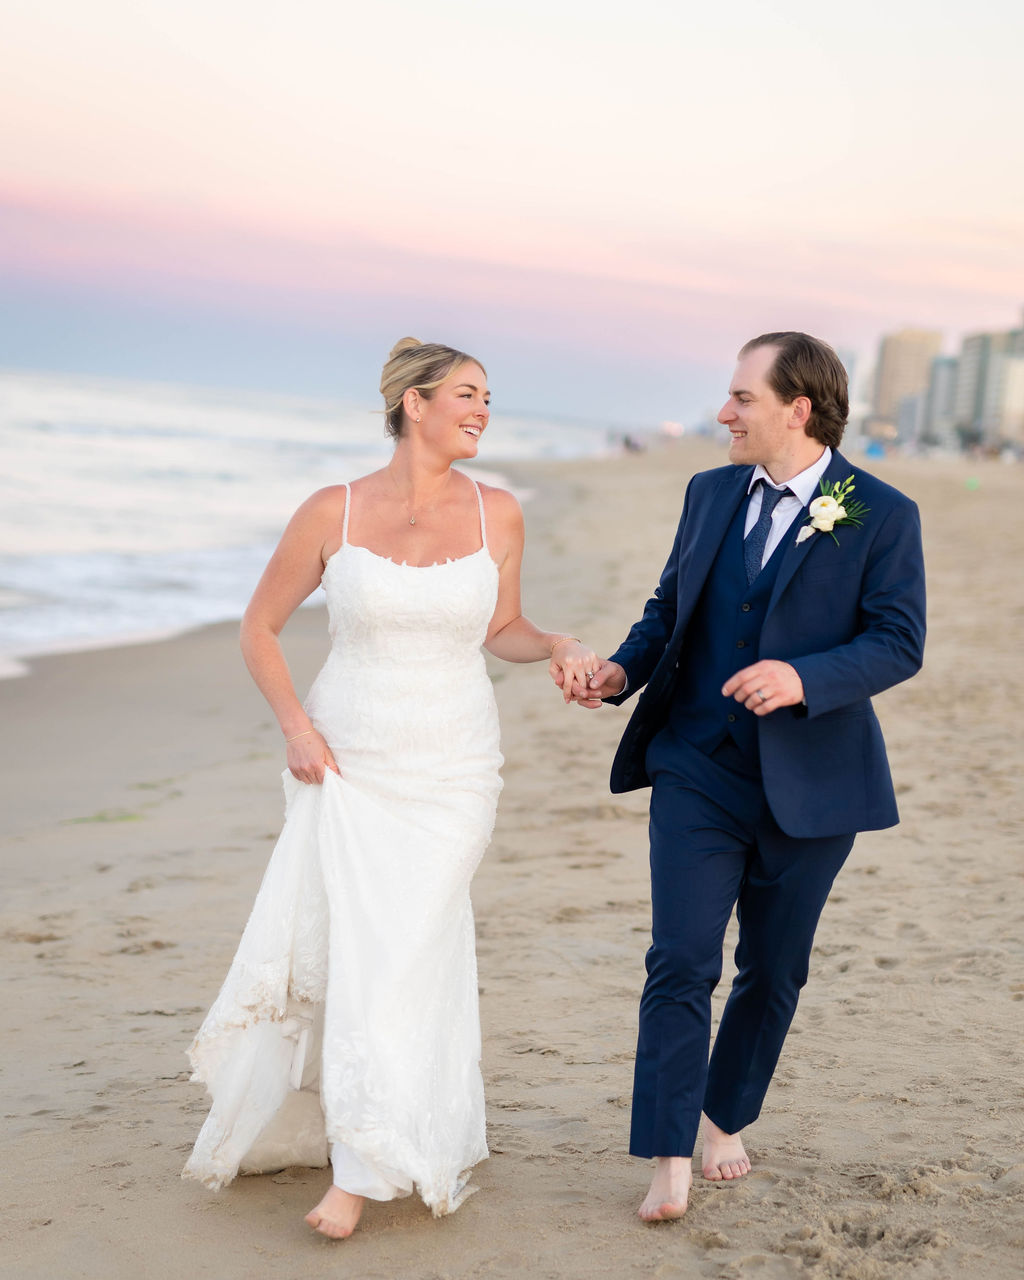
There's something wonderfully nostalgic about returning to a place that has long felt like home. For Taylor and Chris, years of vacations along Virginia&#…
New York Bridal Fashion Week may have put the wedding mini dress firmly back on the runway, but it's real brides who are showing everyone how to wear it w…
Subscribe to:
Posts (Atom)

